How to Install CCFL Angel Eyes
If you are willing to jazz up the stock headlights with those aggressive and sharp CCFL halo rings, you can pretty much do the installation job by yourself to save on labor costs. So if you have got your CCFL headlight kit handy, here is a quick instruction on what you will need to do.
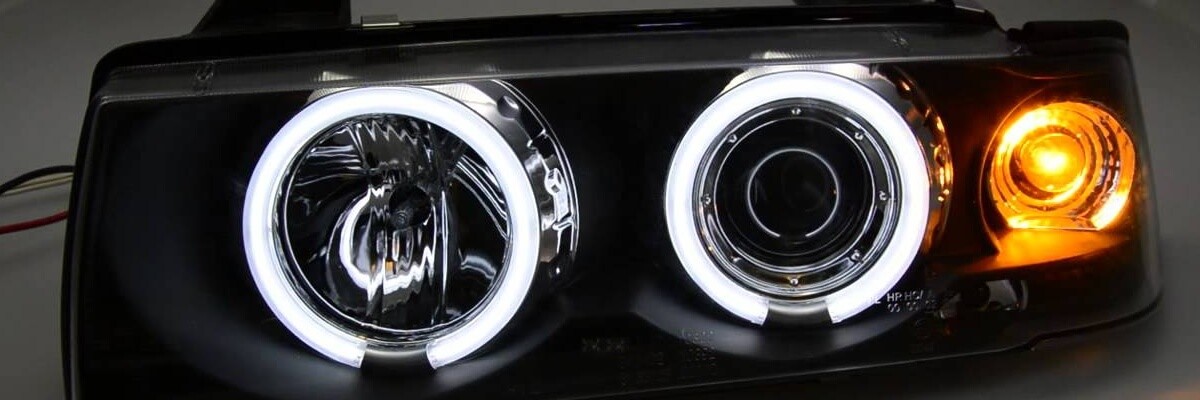
✔ Step 1. First of all, you will need to uninstall the headlights from your vehicle and remove all wiring and bulbs from it.
✔ Step 2. Next, you will need to open the headlight assembly. It means, you will literally have to take the headlight apart without damaging it. Here is an instruction on how to open the headlight.
✔ Step 3. Once the headlight is disassembled and you have the chrome housing separated from the assembly, pre-fit the halo rings to see where you want to run the wires. Then, drill a small a hole in the chrome housing (this will be a place to run the wires from halo). We recommend drilling from the back to prevent chrome from scratches. If you are planning to install 2 angel eyes in one assembly, repeat the same drilling procedure to run the wires from the second CCFL ring.
✔ Step 4. Test the rings. Here is a quick instruction on how to test CCFL halo rings.
✔ Step 5. Now, run the wires of the halo rings through the holes that you have just drilled. As you see, CCFL halos have 2 wires each, so it’s better to drill 2 holes, 1 for each wire. This way, the holes will be less visible, rather than if you drill 1 bigger hole to run both wires.
✔ Step 6. Clean the area where you plan to install your halos. It is a good idea to use an alcohol napkin or other kind of moderate degreaser.
- Apply some adhesive on back side of halo rings
- Place halos in place.
- Hold halo rings with some pressure for 5-10 seconds to secure in place.
✔ Step 7. Now it’s time to route the wires. There are several ways to do that. However, it’s easier to use the existing vents for that. This way, you will avoid extra drilling. So, you will need to remove 2 gray caps with a screwdriver and feed the wires through them. Then, just snap the caps back.
✔ Step 8. Now, it’s time to connect the CCFL driver. Here is a detailed instruction how to connect the driver.
✔ Step 9. When the driver is connected, install the chrome housing and insert the plastic lens back.
✔ Step 10. Once the light is assembled, seal the assembly. Here is the instruction on how to seal headlights.
✔ Step 11. Once the headlight assembly is sealed, you can install the lights back into the vehicle and wire them. As a rule, CCFL halos are wired to the parking lights, so they will stay on when the lights are on. Also there is an option of installing a toggle switch to power the halos.
ABOUT SUSAN ANDREWS
 Susan is a technical writer with years of experience in technical sphere. Besides, she is a car enthusiast and never loses an opportunity to visit car events and racing. She is anxious about everything that is fast, loud and bright. Now she is a technical writer at HaloHeadlights.com and is glad to share her knowledge in the car lighting spere with the readers. You can ask a question to Susan using the form.

