Chameleon Headlight Tint
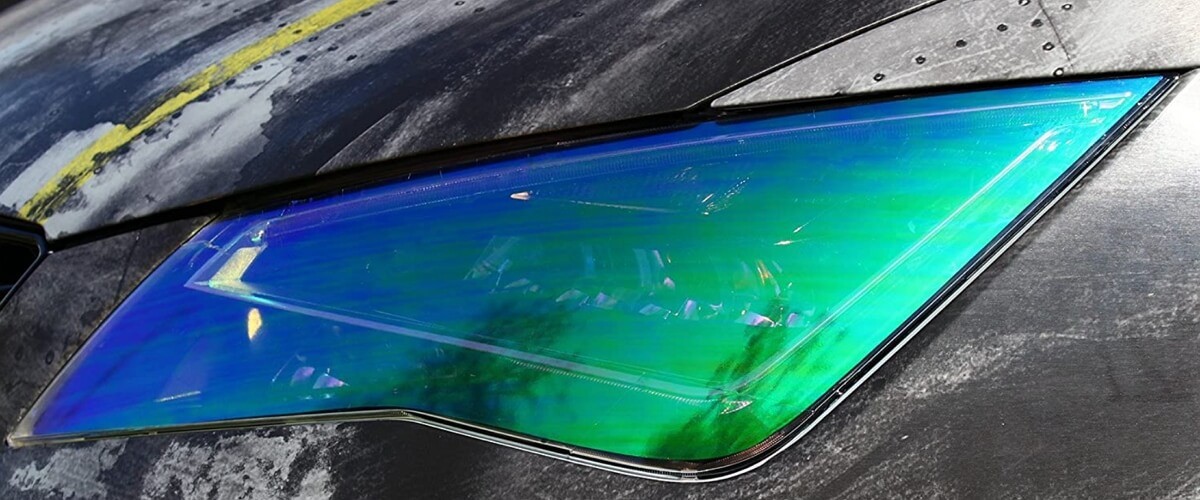
Chameleon headlight tint is a great and inexpensive way to dress up your headlights and add that show-car look to your ride. There are many great chameleon headlight tint options available on eBay, Amazon, and in-car part stores. Yet, it may be difficult to choose a quality product among dozens of offers. So, we are here to share our impressions on certain headlight tint films we’ve tested.
Note, that you will not see a huge list of the best products, as our aim is to give you the real information we got from our own experience, not just from the internet.
The Main Features of Chameleon Tint
As a rule, chameleon tint film is an 85% VLT shade color change vinyl wrapping film. The majority of chameleon headlight tint wraps are made both for DIY and professional installation. So, you can save and not hire a shop to do the job for you, as all films come with the instructions included. The film itself is optically clear, so your headlight light will not change color because of the color-changing wrap applied. In other words, you will tint light housing without affecting the light output.
What lights can I tint using the wrap?
You can wrap headlights, tail lights, fog lights, and auxiliary lights of your vehicle:
- cars;
- trucks;
- ATVs;
- UTVs;
- motorcycles;
- scooters;
- mopeds;
- golf carts.
Why Buy Chameleon Headlight Tint?
The majority of people who buy chameleon tint do it to jazz up the look of their vehicles. Such upgrade is inexpensive, yet looks exciting and trendy. Many people have seen such an upgrade on the show cars, race cars, etc. So, they add that color-changing film to wrap the headlights, tail lights, fog lights, and auxiliary lighting. As a result, they make their ride look distinctive and unique and be the envy of their friends.
Color-changing vinyl headlight wrap is designed for easy and quick installation with no extra tools required. So, you can do the job by yourself without having to hire a shop to do that. Usually, the manufacturers add detailed installation instructions to the package along with a QR code that you can scan to get quick access to the installation video instruction.
What to Look for Before Buying?
We know, that there are so many great products, and it may be hard to pick just one. So, here’s a list of great tips that you are welcome to consider to choose a great product at a fair price.
- Cashback for photos. You may be surprised, but Rtint and several other manufacturers of chameleon headlight tints offer small cashback ($20-$30) if you provide 5+ photos of the installation process. So, you can earn some money, save on installation by doing it on your own, and the manufacturer will share your photos on their social media.
- Check the warranty. Cheap and low-quality headlight tint films say nothing about the warranty. If you see, that warranty information is missing in the product description, it’s better to message the manufacturer and check it out before placing your order. In general, quality chameleon headlight tint is backed up by a 1, 2, or even a 3-year warranty.
- Legal aspect. Before buying a headlight wrap kit, it is a good idea to make sure such mod is street-legal in your area. In general, such mod does not change the color output or beam pattern, so it should be fine. Yet, it’s always better to double-check, than get a ticket.
How to Install Light Tint Film?
The installation process depends on the type of wrap you purchase. The most popular self-adhesive semi-permanent headlight tint films are applied with the wet application method. Generally, you do not need any expensive tools or specific technical skills to do that. The installation process will take you around 1 hour.
You will need:
- a little heat;
- squeegee out the air and fluid;
- trim to fit with a razor blade.
The quickest way to get detailed installation instructions on the specific color-changing headlight wrap is to google the name of the brand followed by the ‘installation instructions‘ and then just go to the YouTube section of the Google search.
Note, that there is no need to search for the installation video for a specific year, make, and model, as the process does not really depend on this and is pretty much similar for all vehicles. Yes, some headlights may be a bit more complex to shape the film for, but you will cope with no problem if you have a good and sharp razor handy.
Here are the factors that may slightly influence the amount of time needed for the installation:
- your skill level;
- quality of chameleon headlight tint wrap;
- the complexity of the surface that you are about to wrap;
- using the right tools and fluids.
 Steven is a certified mechanic and technical writer at Halo Headlights. Steven is excited about fast cars, loud music and car mods. On yearly basis he visits SEMA, as well as other car shows.
He has installed thousands of HID and LED kits and did hundreds of custom headlight retrofit projects. Now, he is ready to share his experience with Halo-Headlights.com readers.

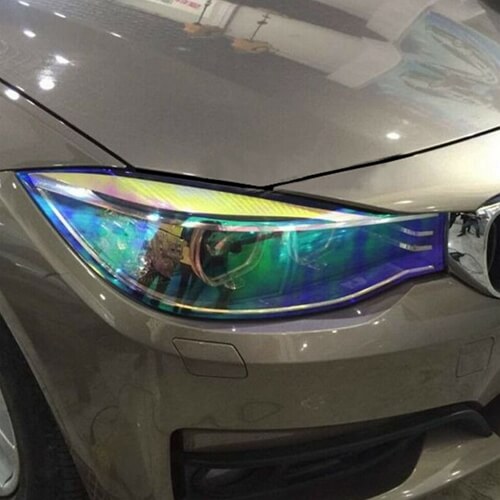
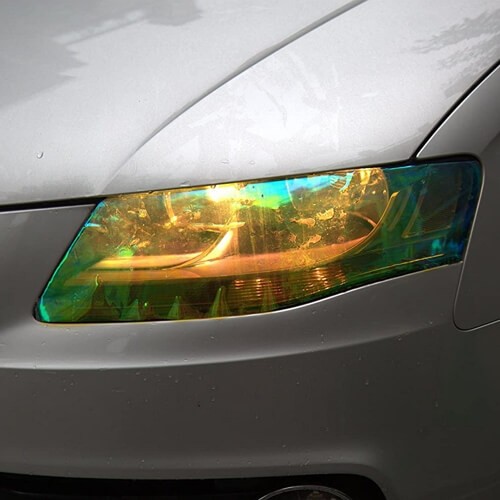
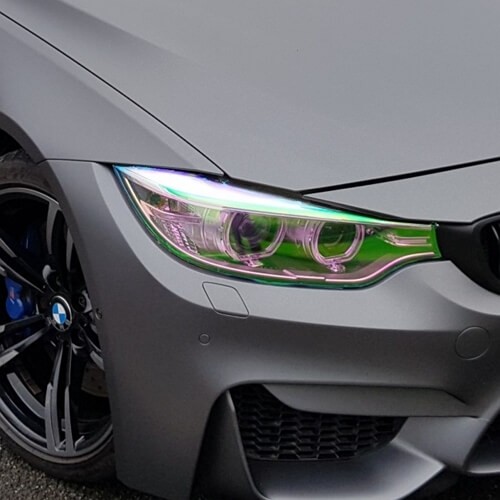
As soon as I saw the Chameleon High Gloss Vinyl Headlight Foglight Wrap Tint Adhesive 2-Roll Pack on Amazon, I knew I had to have it. I had been searching for a product that could give my car a unique look and the rainbow transparent color was the perfect match for my style. After placing my order, the package arrived promptly and I couldn’t wait to start using it.
The first thing I noticed was the quality of the vinyl. It was thick and felt durable, yet flexible enough to be easily molded to the curves of my headlights and fog lights. I was also pleasantly surprised by the generous size of the rolls – they were more than enough to cover my lights and still have some left over.
The installation process was surprisingly easy, thanks to the clear instructions that came with the product. I cleaned my headlights and fog lights thoroughly, then carefully measured and cut the vinyl to fit. The adhesive was strong and held the vinyl securely in place, even on the curved surfaces.
The real magic happened once I turned on my headlights. The rainbow transparent color was absolutely stunning, with a brilliant shine that transformed my car’s look. I couldn’t stop admiring how it changed colors depending on the angle of the light – it was like having a new car altogether.
In addition to the fantastic visual effect, I was pleased to see that the vinyl did not obstruct my lights in any way. My headlights and fog lights were just as bright and effective as they were before the installation.
Overall, I am thrilled with my experience with the Chameleon High Gloss Vinyl Headlight Foglight Wrap Tint Adhesive. It was easy to install, looks fantastic, and has held up well over time. I have received numerous compliments on the unique look of my car, and I am proud to have used such a high-quality product to achieve it.
Hey Linda, thanks a lot for sharing your experience with our readers!
I recently purchased the VViViD Air-Tint Extra-Wide Headlight Taillight Vinyl Tint Wrap from Amazon, and I couldn’t be happier with the product. I was a bit skeptical about how well it would work, but after watching a few installation videos, I decided to give it a try.
The package arrived promptly, and everything was included as advertised. The roll of vinyl was 16 inches by 48 inches, and it was accompanied by a yellow detailer squeegee and two black felt edge decals. The instructions were easy to follow, and I appreciated that I didn’t need to use any installation liquid.
The vinyl itself was of high quality, and I was impressed with its durability. It was also self-healing, which means that any scratches or imperfections would disappear with heat. The adhesive was acrylic based, so I didn’t need to worry about it eating through my headlights’ coatings or causing any damage.
I started by cleaning my headlights and tail lights thoroughly, so the vinyl would adhere correctly. Then I trimmed the vinyl to shape and applied it to the surface. I found that the vinyl was super conformable with heat, which made it easy to wrap around curves and edges. The yellow squeegee and black felt edge decals were also very helpful in ensuring that the vinyl adhered properly.
The final result was fantastic. The dark black color looked sleek and stylish on my car, and I loved how easy it was to apply. I was initially worried that the tint might be too dark, but it was just right. The 80% tinted smoke or 20% VLT made it easy to see at night while still providing a tinted effect during the day.
Overall, I would highly recommend the VViViD Air-Tint Extra-Wide Headlight Taillight Vinyl Tint Wrap to anyone looking for an easy and cost-effective way to customize their car. The product was of high quality, easy to use, and provided excellent results. I am thrilled with the outcome and would buy it again in a heartbeat.
Hey Mike, thanks a lot for the detailed review. This is actually one of the most popular headlight tints among those that I personally installed for my customers. I am sure you will enjoy your new upgrade.
As a car enthusiast, I have always been interested in customizing my ride. I had been thinking about installing a headlight wrap for quite some time now and finally decided to take the plunge. I had done a lot of research and decided to use the Vvivid+ Air-Tint wrap, as it was highly recommended by other car enthusiasts.
I started by thoroughly cleaning my headlights and letting them dry completely. I then cut the wrap to the appropriate size for my headlights, making sure to leave a little bit of extra material around the edges. This would allow me to stretch the wrap over the curves of the headlights.
Next, I used a heat gun to heat up the wrap. I started by applying the wrap to the top of the headlight, making sure to stretch it slightly as I went. I then worked my way down the sides, heating up the wrap as I went and making sure to stretch it around the curves.
As I worked, I could feel my confidence growing. I was starting to get the hang of it, and the wrap was starting to look great. I was careful not to overheat the wrap, as I didn’t want to damage it. I made sure to keep the heat gun moving at all times, never staying in one spot for too long.
Once I had the wrap stretched over the entire headlight, I used a knife to trim off the excess material. This was a little nerve-wracking, as I didn’t want to cut the wrap too short and ruin all of my hard work. But I took my time and was careful, and eventually, I had a perfectly wrapped headlight.
The final step was to repeat the process on the other headlight. This time around, I was feeling a lot more confident, and the process went a lot smoother. Before I knew it, I had both headlights wrapped, and my car was looking better than ever.
Looking back, installing the headlight wrap was a little intimidating at first. But with a little bit of patience and practice, I was able to pull it off. I feel proud of myself for taking on this project and making my car look even cooler than it did before.
Hey Allan, thank you so much for the detailed installation guide! I am sure our readers will be thankful once they start headlight wrapping.