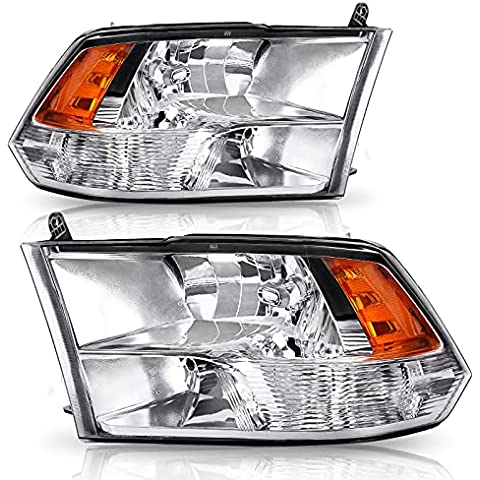
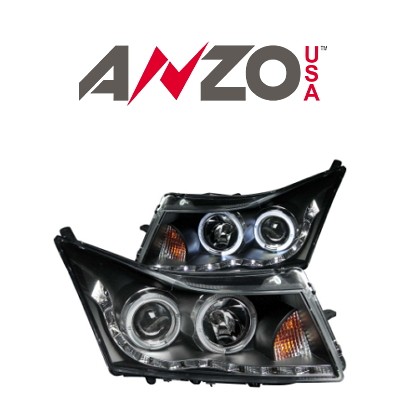
Spyder Headlights for Chevy Silverado
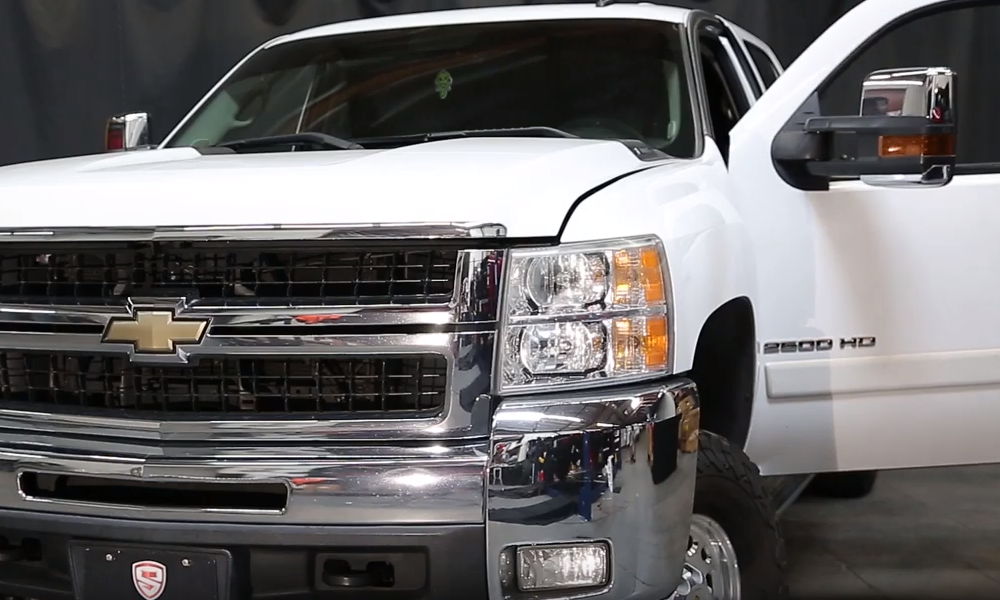
This instruction will show you, how to work on a 2007 – 13 Chevy Silverado and replace your OEM headlights with the brand new aftermarket CCFL halo headlights by Spyder. Note, that this installation instruction works fine for the following vehicles:
2007 – 2013 Chevrolet Silverado 1500
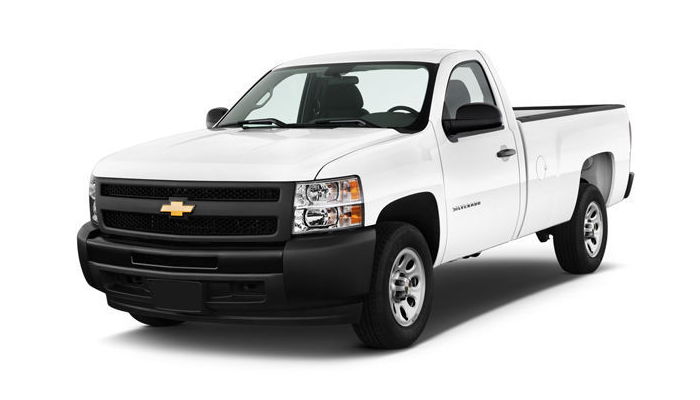
2007 – 2014 Chevrolet Silverado 2500HD
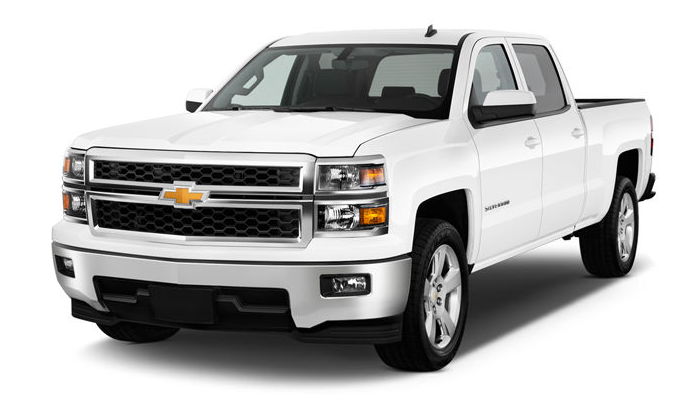
2007 – 2014 Chevrolet Silverado 3500HD
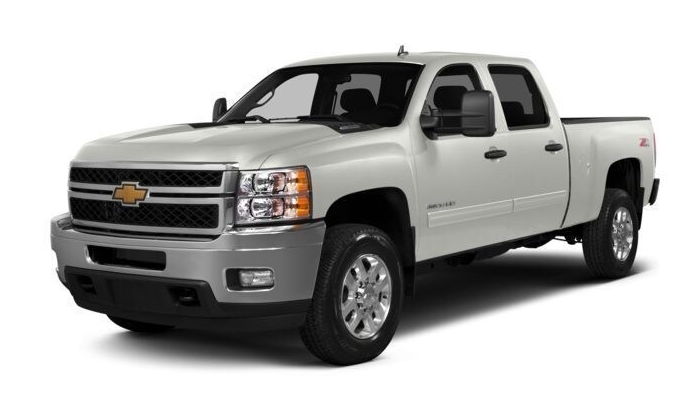
This instruction will explain you how to safely remove the factory headlights, unplug them, wire CCFL halos and LEDs, along with the other wiring, and finally install your brand-new Spyder headlights on your Silverado truck.
- Pop that hood. First, we’re going to remove the radiator shroud secured by plastic pushpins. You can remove them using a panel popper. Remove the 6 grille clips. They are located behind the grille. The grille of your Silverado truck is secured by these clips and there are six of them.
- Get to the bottom bolt of the headlight. We need to remove this 10-millimeter and 7-millimeter, so now you need to pull back this wheel well. So here’s the 10-millimeter bolt. Now, just loosen the bolt, move it down from here to remove the headlight.
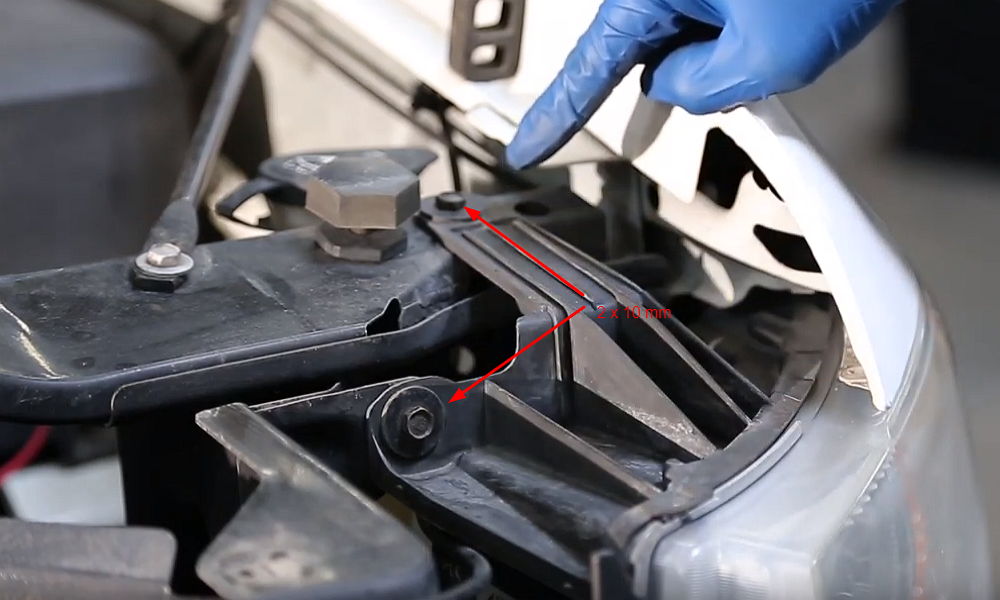
- We need to remove these two 10-millimeter bolts and we will be using the socket with an eight-inch extension. To remove your factory headlight you will need to pull it forward a little bit and then press it down.
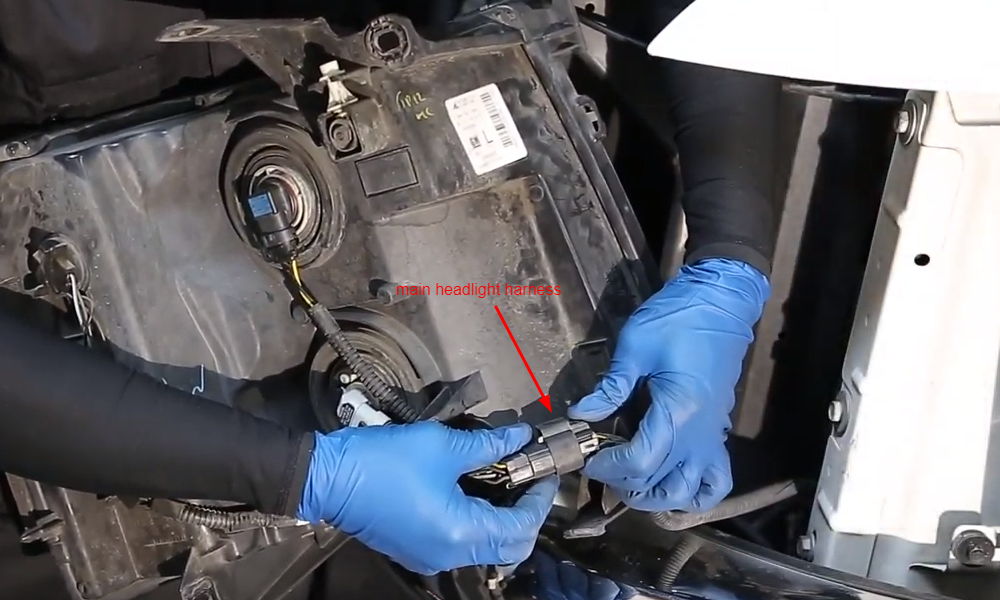
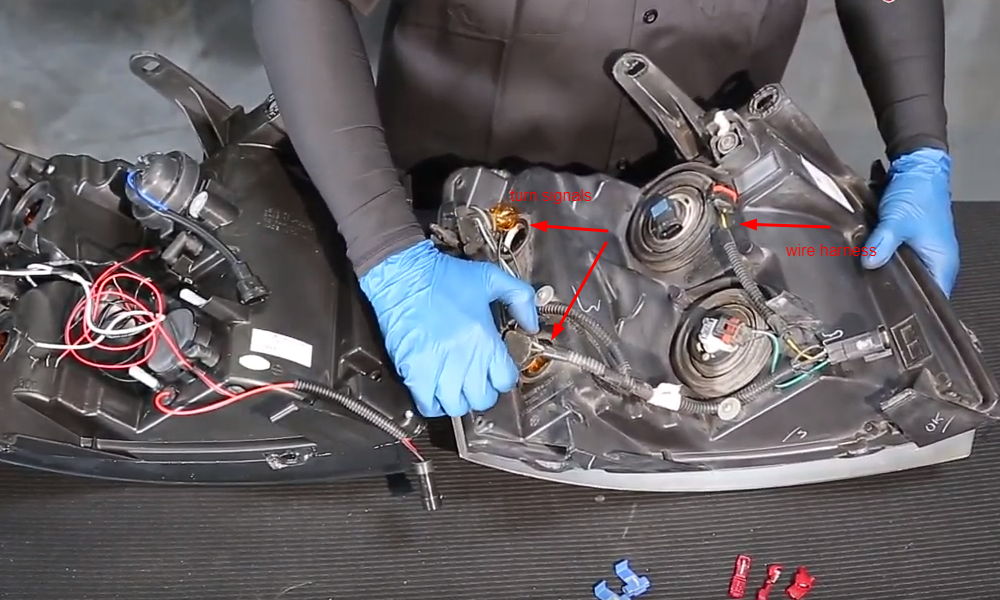
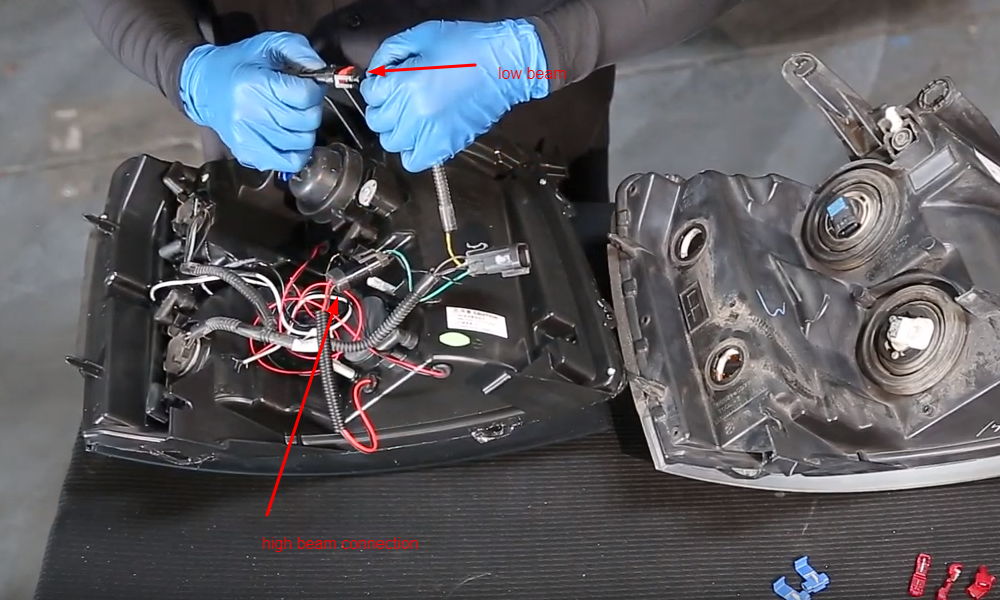
- Now, disconnect the main headlight harness, push down on the tab. Next, transfer over the wire harness on to your Spyder headlight with the t15. Now, you need to screw the screw. Then, put your turn signal light bulbs into the headlight housing, connect your high beam; and connect your low beam.
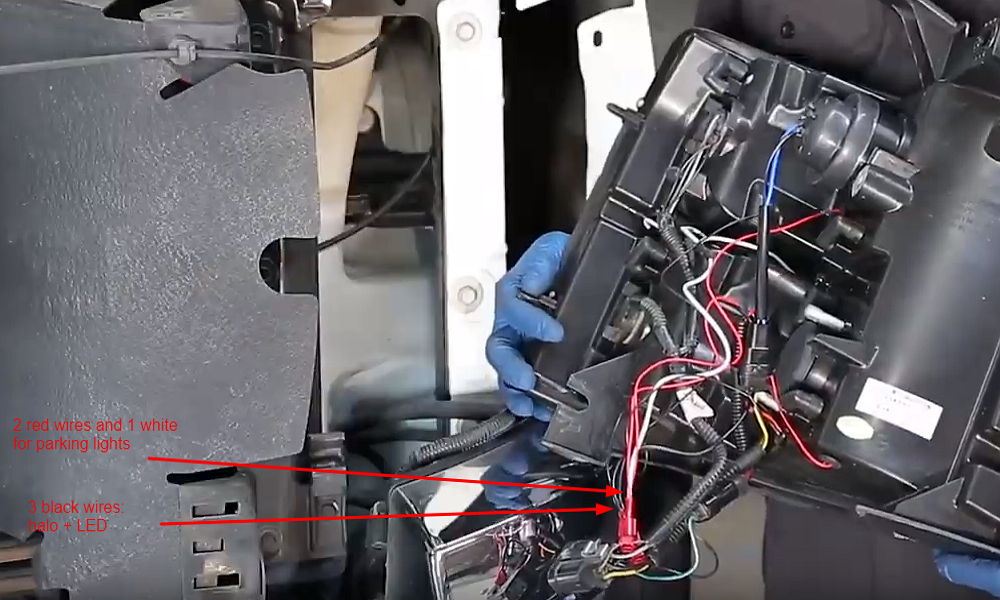
- After you connected your wire harness to your headlight assembly, tap the halo and LEDs.At taps, you have two different kinds: the male and the female that you connect together, or we have these tops right here so that you can just merge the wires together. Now, go ahead and connect all your negative wires together. You should have two for your halo and one for your LED. Now connect your positive wires. You should have two red ones and one white one.
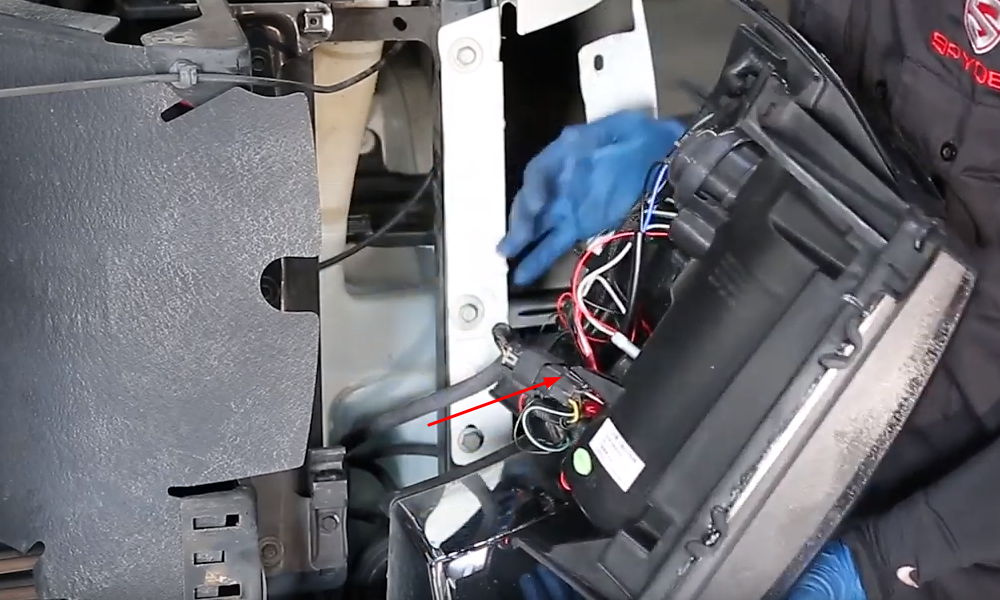
- We have already pre-tapped the main harness, so you want to make sure you tap the parking light. Now we have finished transferring over the wire harness to the new headlight assembly. So, you can now connect the wire harness. There’s a clip you can attach to the headlight.
- When seating the headlight in, you want to make sure its bottom bracket is lined up with the screw, and two prongs are lined up with the holes. As long as they are seated properly, go ahead and reinstall your 2 10-millimeter bolts. Reinstall your 10-millimeter bolt. Next, reinstall your 7-millimeter bolt. Now, it’s time to install the grille. Make sure all the clips line up. Reinstall your 4 10-millimeter bolts. Next, go ahead and reinstall your radiator shroud. Make sure to get all the holes lined up, then install your pushpins. Close your hood.
Step-by-step instruction: photos
ABOUT
 Steven is a certified mechanic and technical writer at Halo Headlights. Steven is excited about fast cars, loud music and car mods. On yearly basis he visits SEMA, as well as other car shows. He has installed thousands of HID and LED kits and did hundreds of custom headlight retrofit projects. Now, he is ready to share his experience with Halo-Headlights.com readers.

