Anzo Led Headlights Installation: Ford F-150
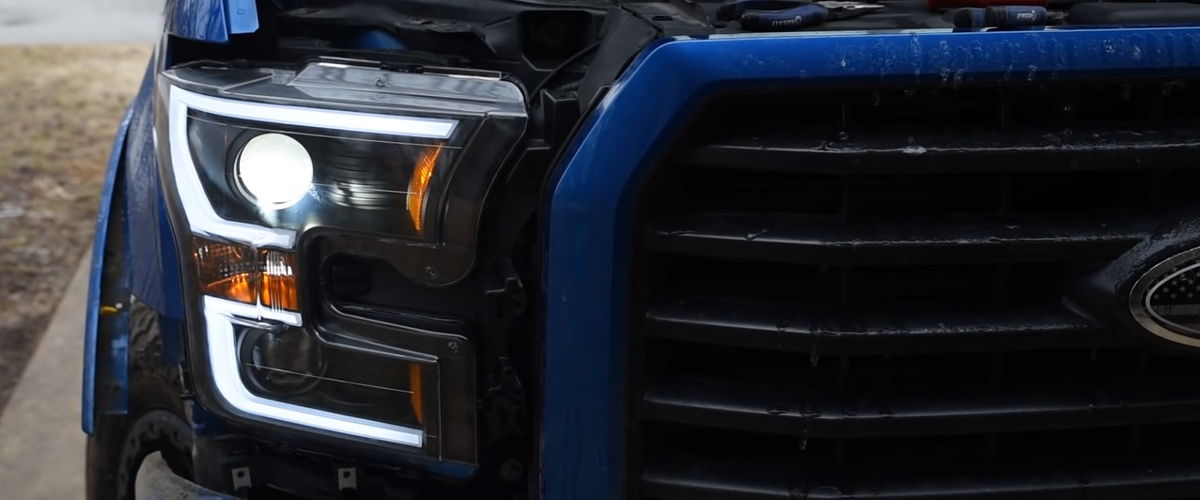
Today we are going to install U-bar Anzo headlights with LEDs on the 2016 Ford F-150. Overall, these headlights look great and highlight the shape of the headlights and grille of the F-150. We are excited to get these headlights installed. Let’s get under the hood to get these things installed.
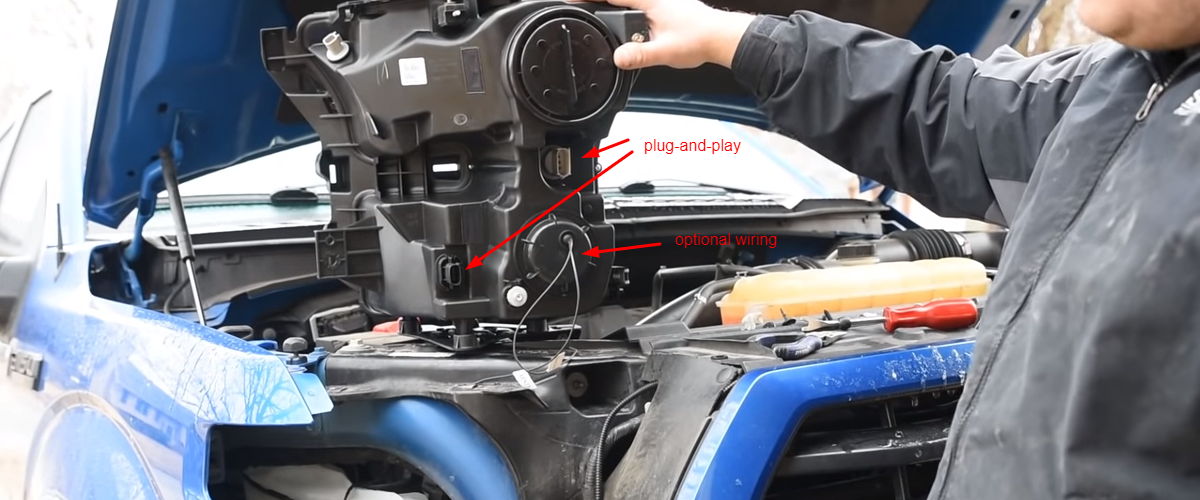
It’s at so one nice thing about these Anzo headlights is that they’re pretty much plug-and-play. These are all the same factory connectors as your factory headlight, so you just plug it right in. One exception is these two wires which are an optional feature and we’ll get to that in a little bit.
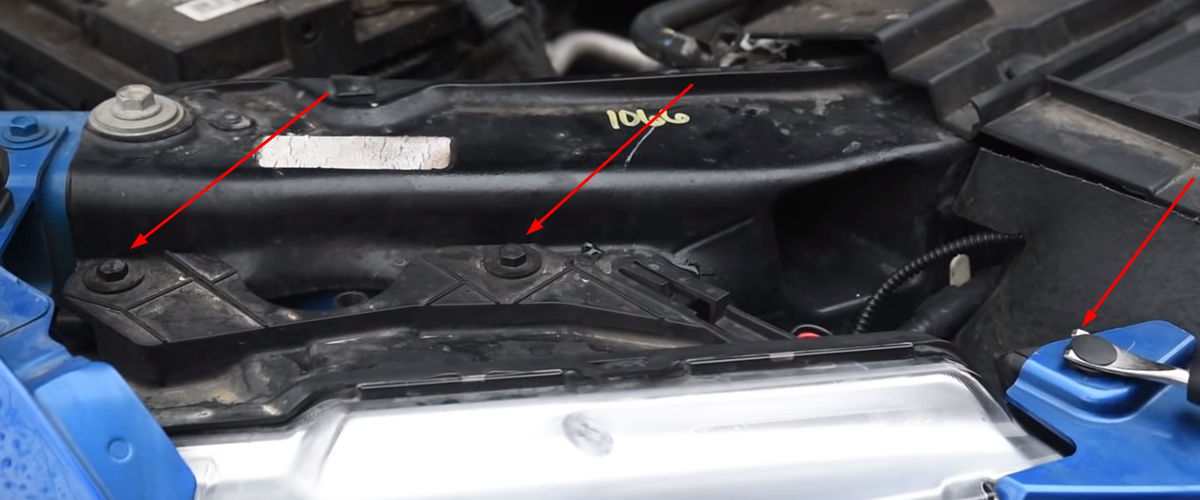
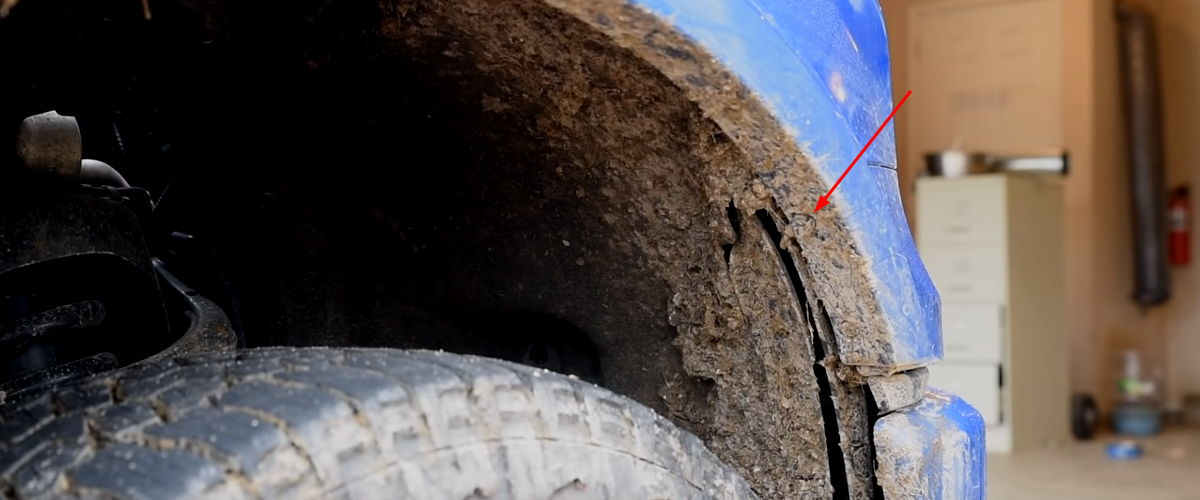
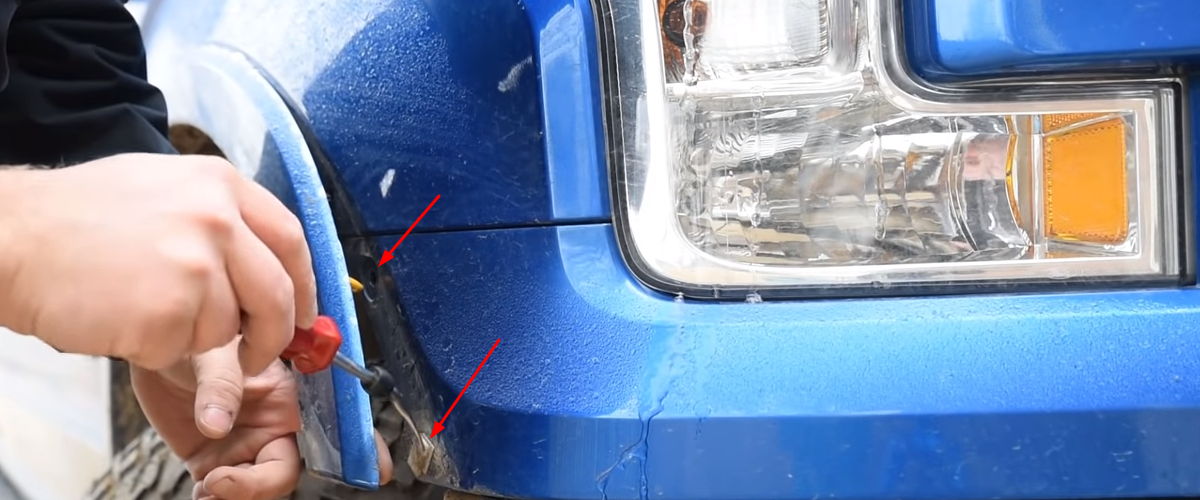
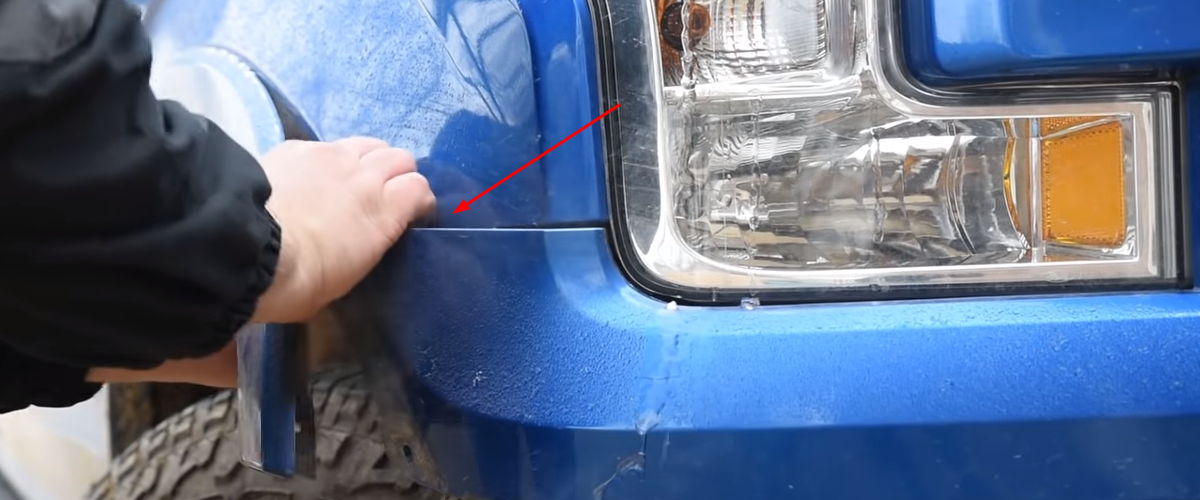
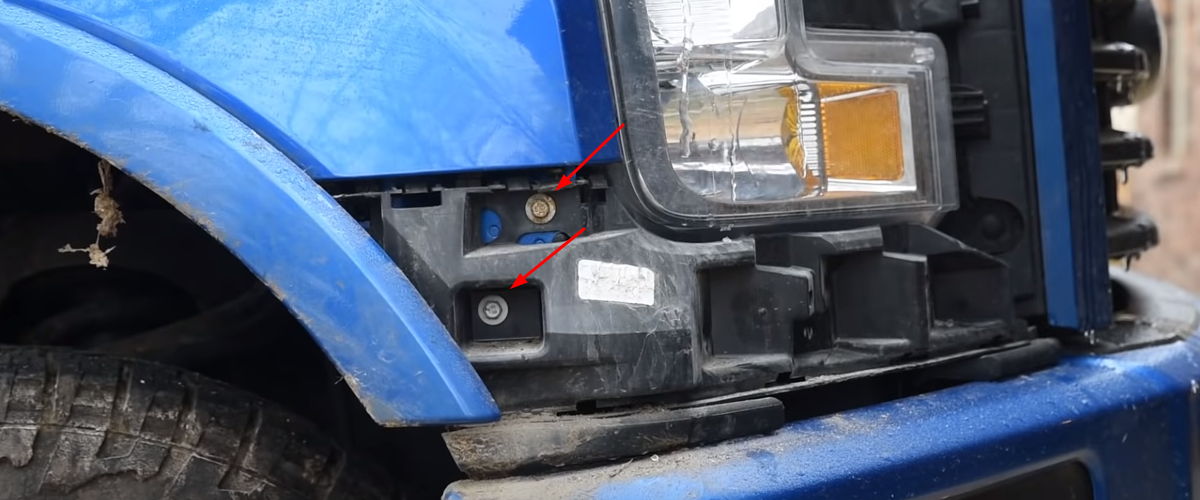
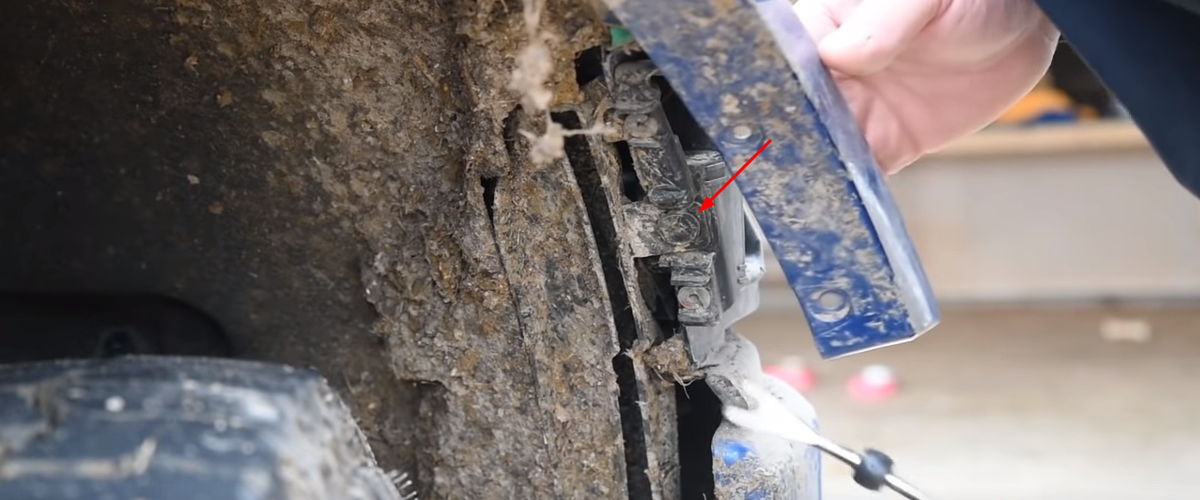
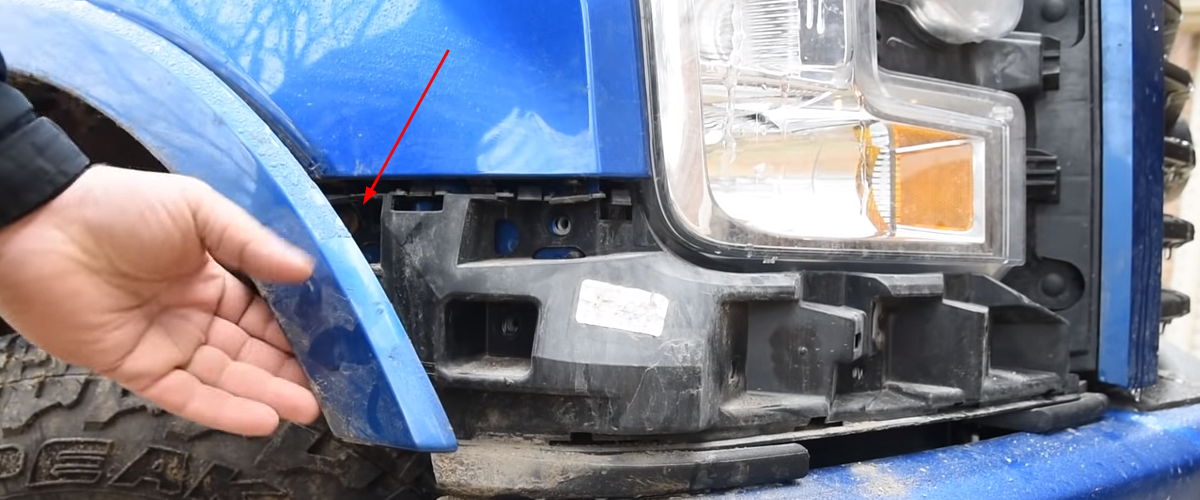
- The first step is to remove this pushpin and these two 10-millimeter screws. Next we’re getting under the fender. There are 2 8-millimeter bolts. Note, that it might be a little muddy here, where the hoses are. There are two bolts you need to unscrew. Both of them need to be removed to pry the fender out from the truck a little bit. You can use a little pry tool, or use a flathead screwdriver or maybe even your fingers. There are two tabs you have to pull out as well. When you’ve got your fender loose, grab this headlight trim panel and pull it away.
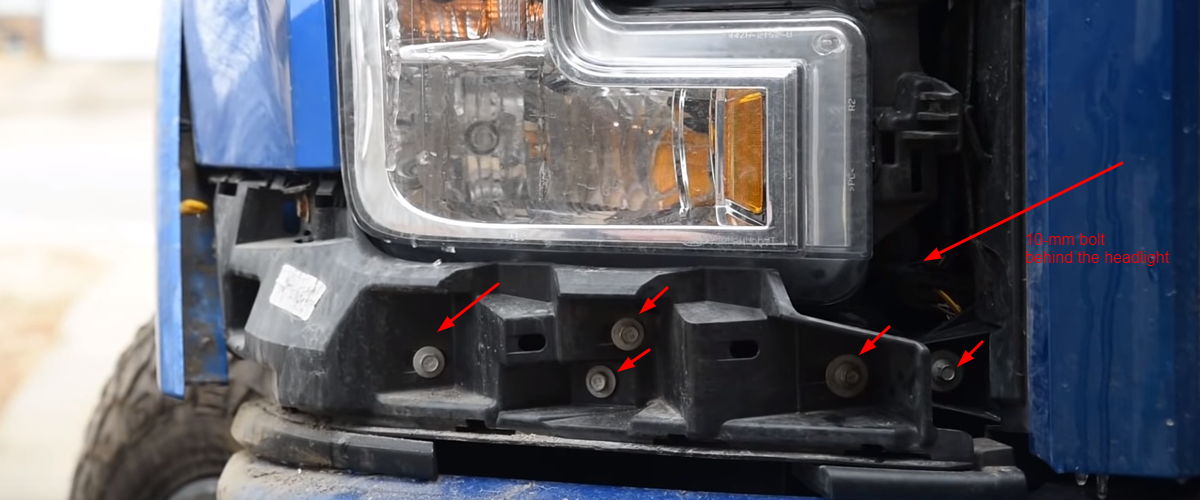
- Next remove 6 ten-millimeter bolts and one 8-millimeter bolt, as well as a push pin and a clip. Your first 10- millimeter bolt is going to be behind the headlight. You need an extension to get to it.
- Next, we have a series of bolts underneath the headlight. These are all 10-millimeter, and this one is an 8-millimeter. We also have 2 10-millimeter bolts. There is a pushpin under the fender and you need to pry out.
- Now you need to remove this lower piece from below the headlight. To do that you have to pull this way a little bit and there is a small clip that you need to pull while removing. There are 2 clips in here. You can release them by pushing a little tap.
- Now we’re just about ready to remove the headlight. To do that, you need to remove some wiring. Be mindful of that wiring as we pull it out but it will be physically connected to the headlight.
- First thing we can do is we can remove the parking light. Just go ahead and take it out of the headlight, disconnect the harness, set the light to the side. Give the head a firm tug; there are some clips holding it in. You need to watch for that other wiring, as it comes out.
- Now it’s time to remove all the sockets and stuff from the lights in the headlight. That wiring harness to the parking light is physically attached with a clip to the headlight, so you need to remove that just like that.
- To install the Anzo headlight you need to set it up and attach all of that factory wiring you have from your factory headlight. Now when this is done we can get ready to install the headlight completely. Most of the wiring has been just connected, so you can pull the headlight back a little bit to see in there.
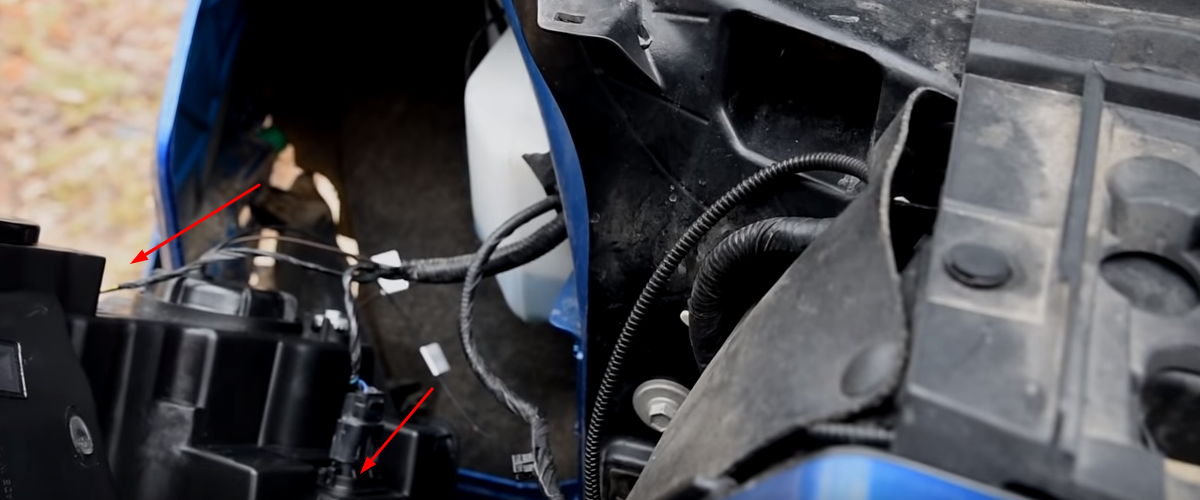
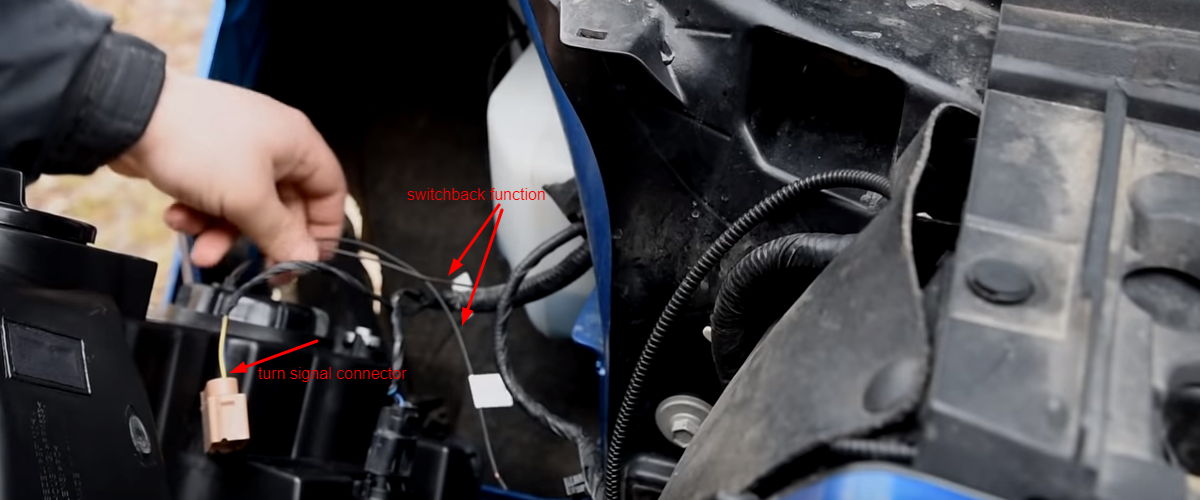
- Now it’s time to wire up the switchback function. There are 2 similar headlight models by Anzo, one with the switchback function, and one doesn’t have it. If you are installing the lights that have that switchback function, you need to take these two wires and the included wire connectors. You will need to splice into the turn signal connector which is right here. Take your black wire which is labeled ground and you’re going to connect that one to this wire right here. It is black with a yellow stripe. It is the nearest one to the tab. Then you need to take a pair of pliers and push it down a little bit. Make sure it makes a good connection. The next wire is power for the turn signal. It corresponds with the yellow wire with a brown strip. Note, that the colors of wires may change from year to year, so make sure you are wiring your headlights to the truck properly. If needed, pick the owner’s manual. In any case, the wires will be in the same locations on the connector regardless of what color the wires are.
- Now plug the wires back in the parking lamp and set this in there. Next, it is a good idea to test the light before you go ahead and secure it. Then button it back up. Once done, go ahead and reinstall it.
- As long as you have aimed your headlights, you are good to go! You will definitely enjoy your new Anzo headlights on your Ford F-150.
How to adjust Anzo switchback U-bar headlights for the Ford F-150?
There is one more important thing to consider. There is a screw for aiming the low beam. It is located at the top part of the headlight. You can aim the low beam with the headlight installed. However, the low beam aiming screw is located way down at the bottom, and you can’t really reach it unless you pull the headlight out. So if you want to aim your high beam headlight, do that before you install it.
There is a little diagram on the headlight. It explains how to aim the headlight. It says: to the left is down, or to the right is up. This will help you aim your headlight.

