Recon LED Headlights Installation: Ford F-150
This is a comprehensive step-by-step instruction of the U-bar projector headlights for 2015 – 2017 Ford F-150s. In this instruction, we will cover everything from the headlight details to installation.
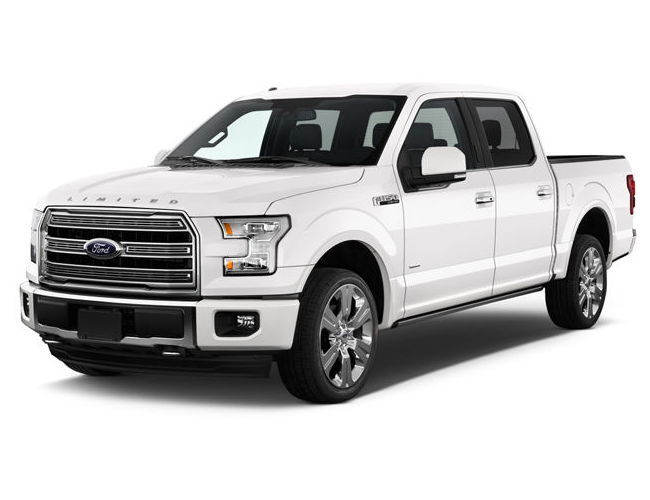
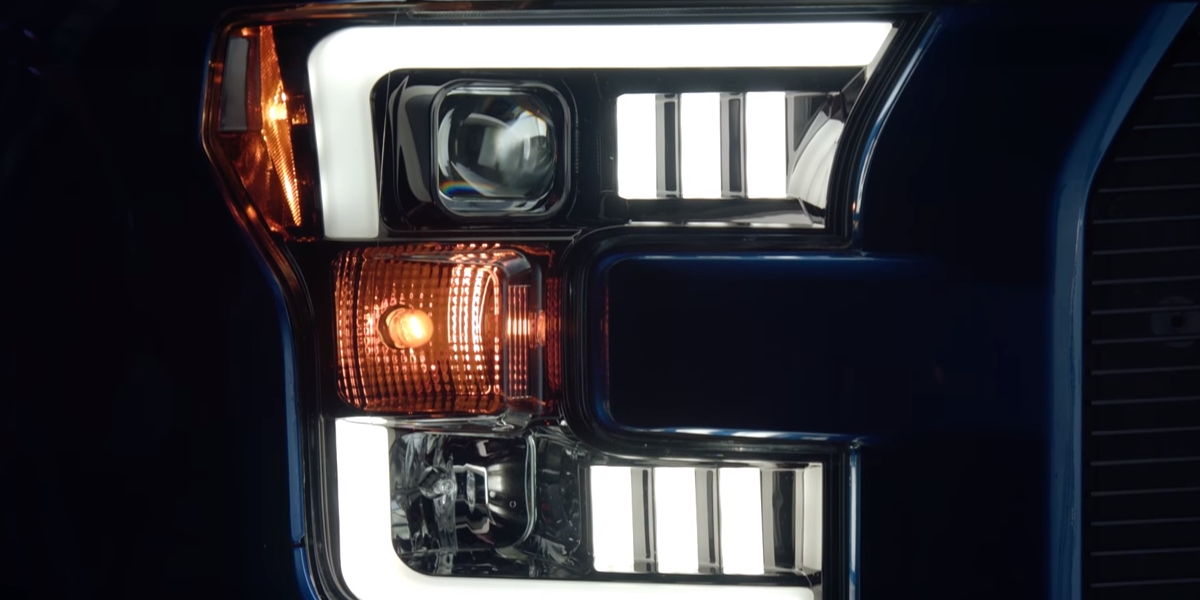
It takes a couple of easy steps to install new aftermarket headlights by Recon. You need to unbolt your factory lights and bolt these Recon headlights up the same way the old ones came out. Next, just plug the headlight harness into your factory harness and you’re done!
Remember, regardless of which Recon headlight that you choose if you own a 15 to 17 F-150, the installation is going to be identical.
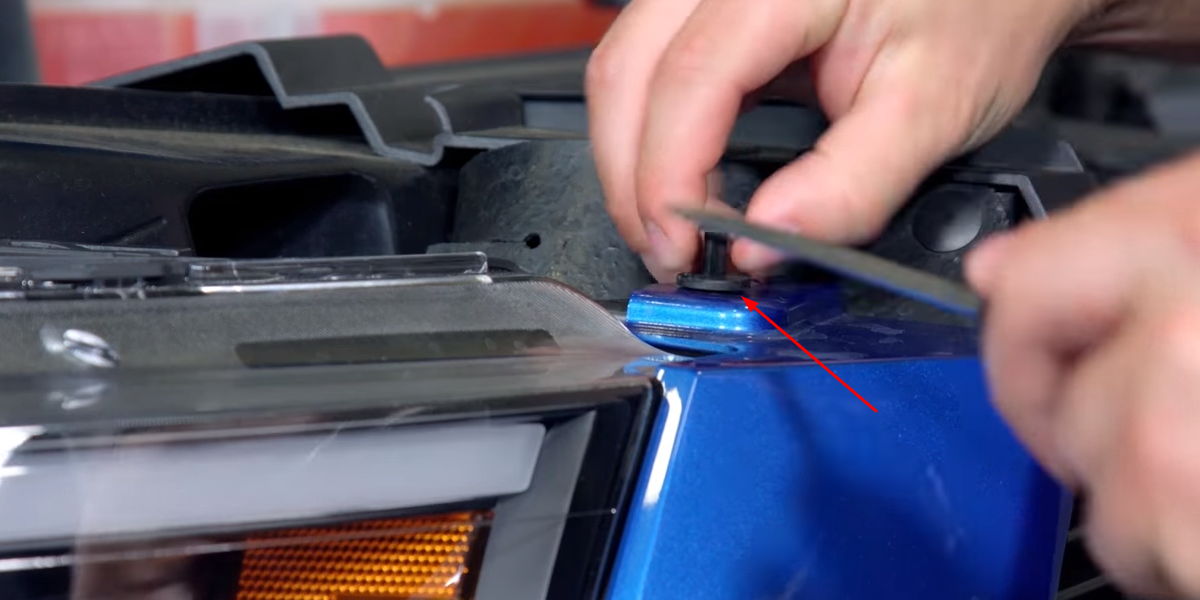
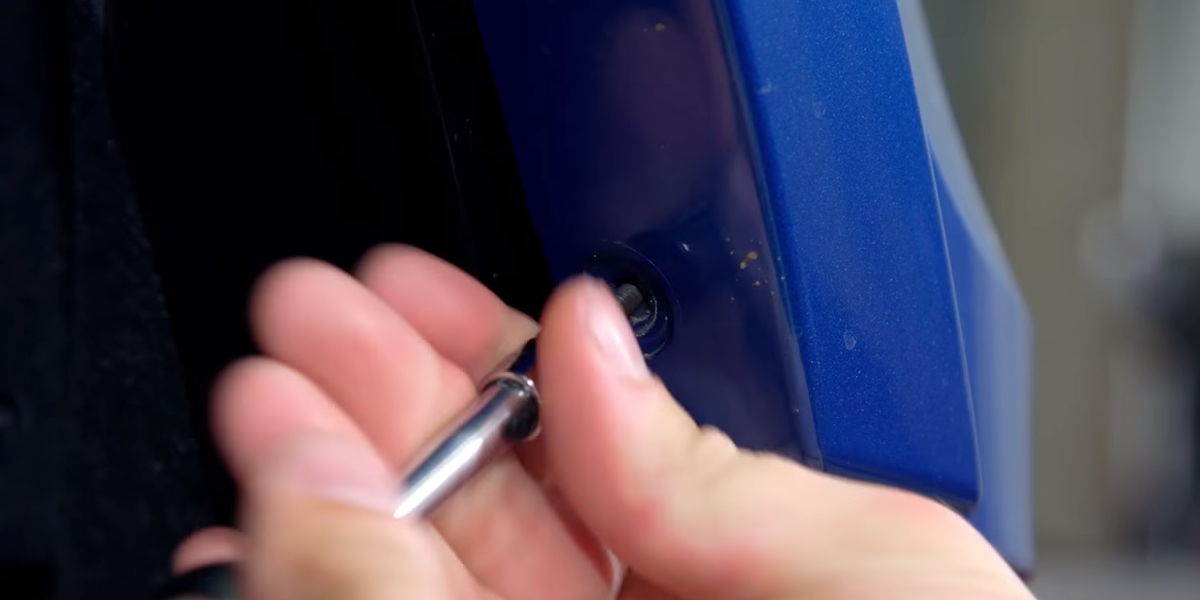
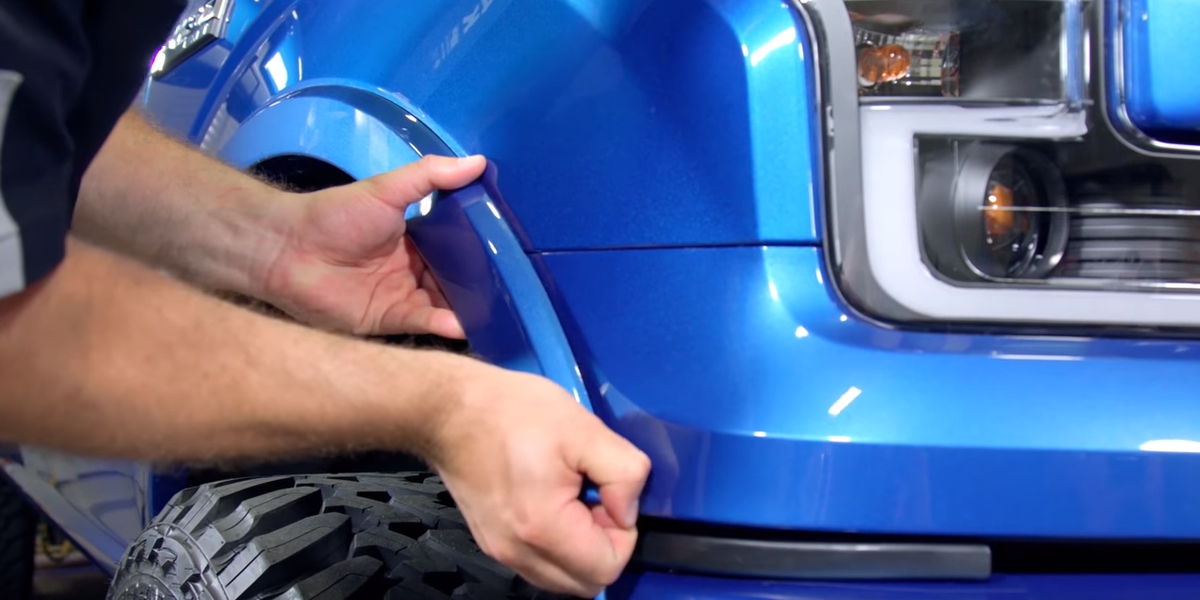
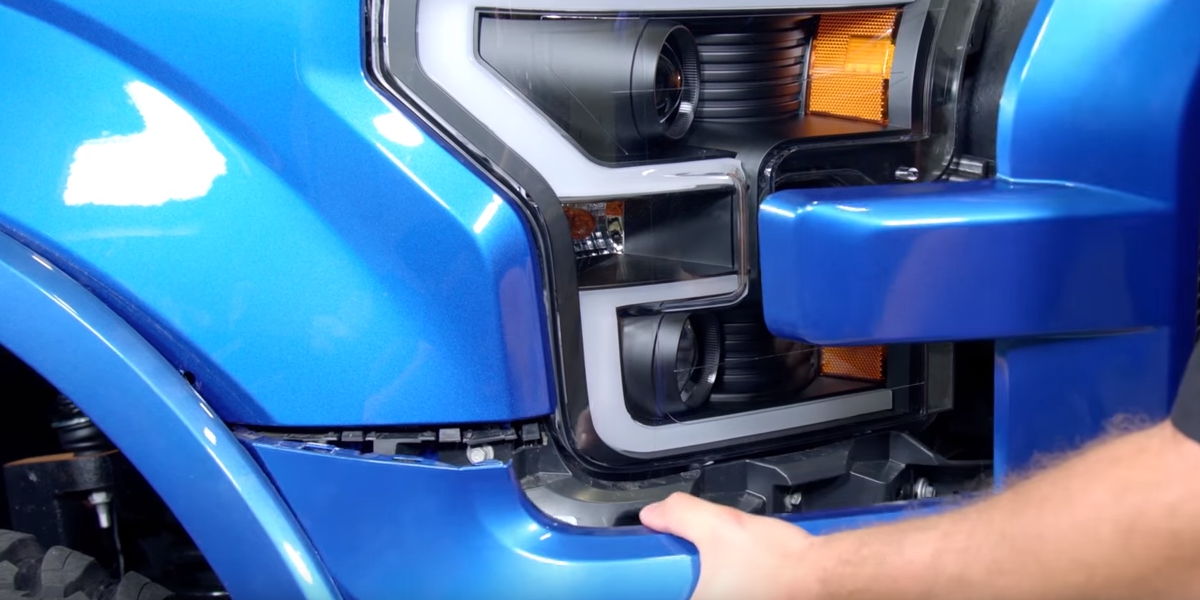
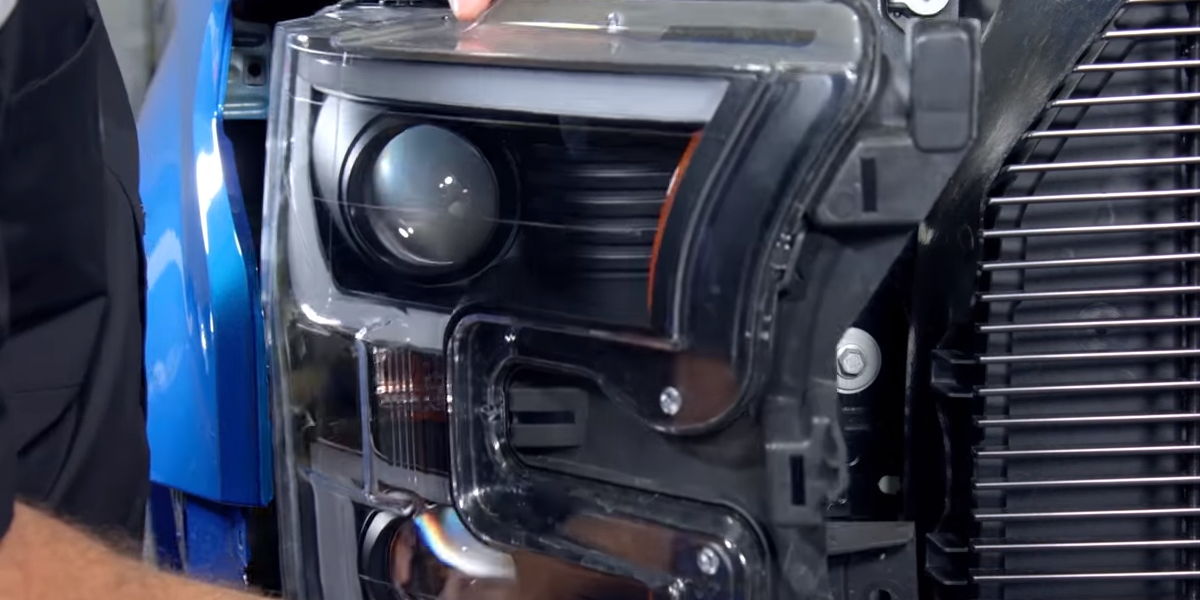
- First, remove all of the plastic pushpins on the headlight trim panel followed by the two 7-millimeter bolts, holding the fender trim onto the vehicle. Then gently pull the fender trim away from the body. Unpop the clips. After that, gently pull away the plastic trim around the headlight assembly.
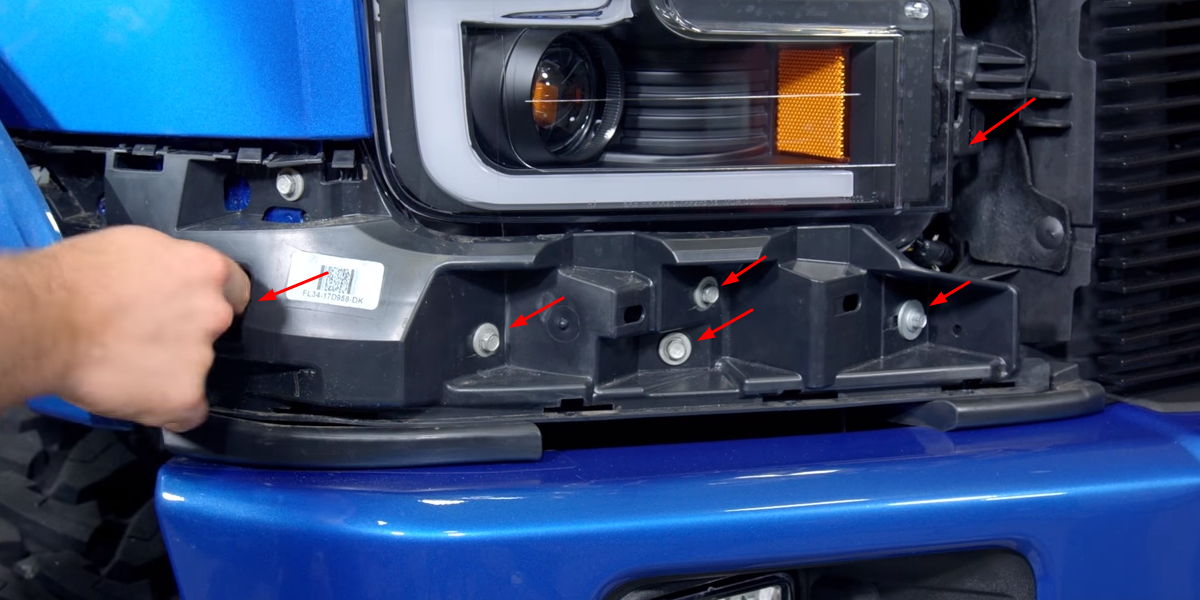
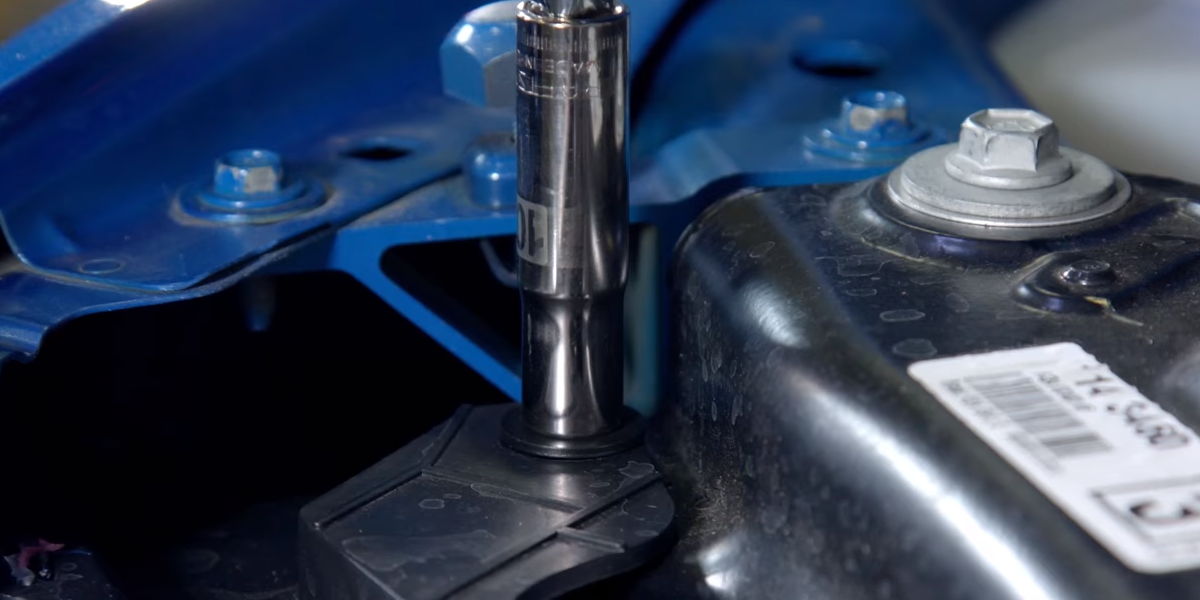
- Next, remove all the ten-millimeter bolts, that hold the lower panel to the vehicle. Remove the three bolts holding the headlight to the header panel and the rad support.
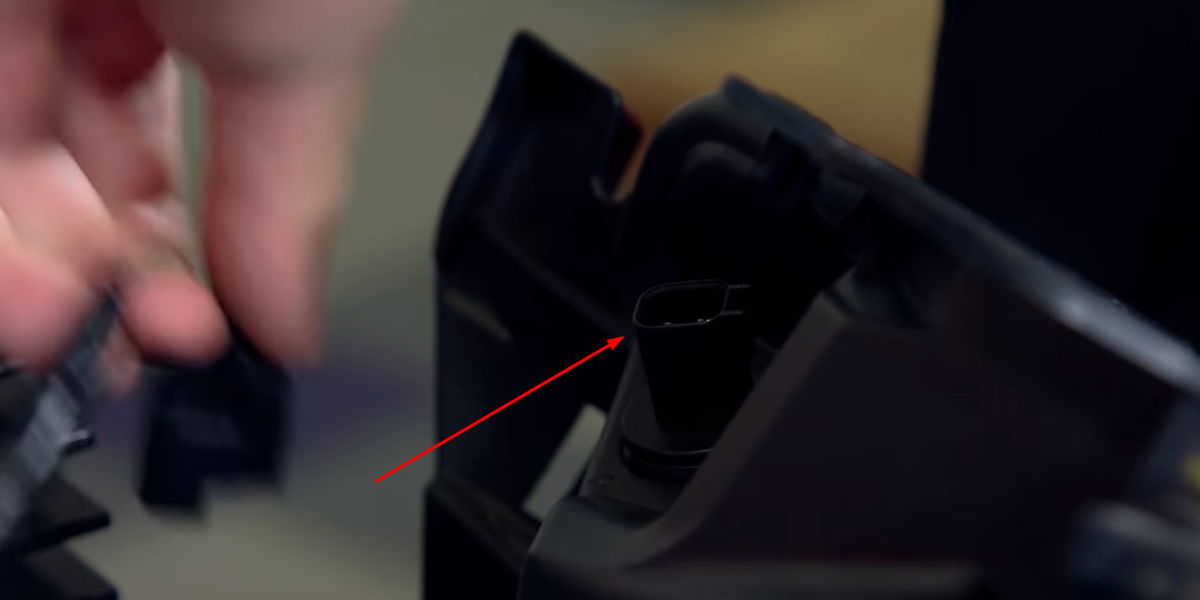
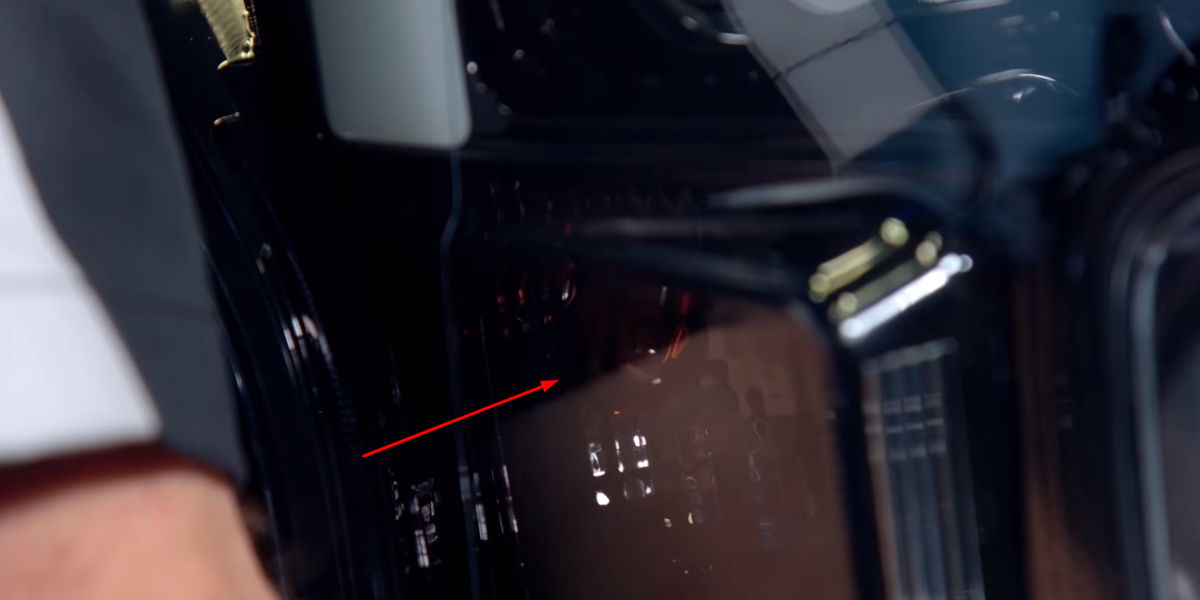
- After all that, you can give the headlight a gentle pull and pull it away from the vehicle. Disconnect all of the connectors from the headlight and remove it. Next, slop the turn signal bulb end socket from the old headlight into the new Recon headlight. Plug the Recon harness into your factory harness.
- Next line up the dowel pins on the headlights of the hole in the fender and the top rad support clip, and push the new Recon light into place. Install the two top headlight bolts but leave them loose to ensure the headlight is flush and tighten them at the end.
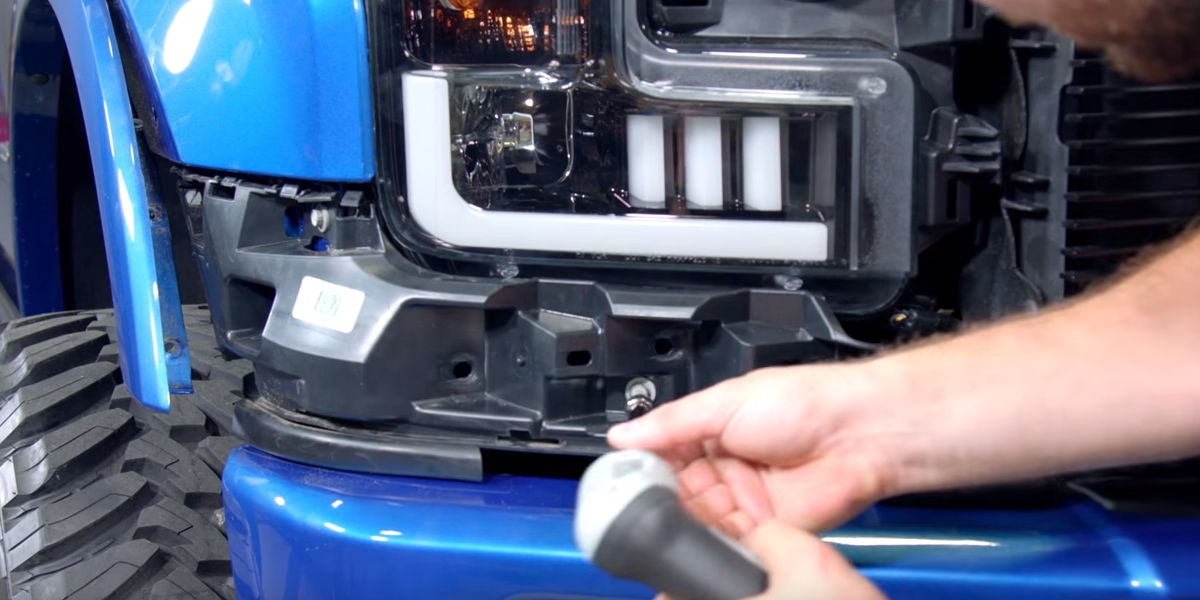
- Next, we’re going to reinstall the lower panel below the headlight, then the plastic trims around the headlight assembly and ensure that it snaps in pop defendant trim back into place. Then reinstall the 2 7-millimeter screws.
When it comes to the installation, it was pretty easy. It has taken about an hour for us to do both sides. Te end result is great, as the truck looks totally different with these headlights installed.
Step-by-step instruction in pictures
ABOUT
 Steven is a certified mechanic and technical writer at Halo Headlights. Steven is excited about fast cars, loud music and car mods. On yearly basis he visits SEMA, as well as other car shows. He has installed thousands of HID and LED kits and did hundreds of custom headlight retrofit projects. Now, he is ready to share his experience with Halo-Headlights.com readers.



I have a 2016 Ford F150 Lariat with factory LED headlights. The harness assembly I have on the back of my installed headlights does not look the same as the one displayed in the illustrations. Mine is larger and has more pins. I also do not have any turn signal bulbs to transfer. Will these still work and function for me?
Ok great purchased for 2014 f150 original halogen to halogen plus led strip. How to wire the led? Recon is just selling products with no install guide!?
Hey James. Yes, that’s how they work. If you are talking about LEDs with the scanner LED light function, here’s what you need to do.
These headlights offer a white DRL and switchback amber scanning turn signal.
To access these functions you will need to connect the white wire to either your parking light positive or any accessory hot wire(for true DRL function).
The yellow wire will need to be connected to your turn signal positive and the black wire to the ground.
We highly recommend using a white, high-powered LED parking/turn signal bulb to replace your OEM bulb as well.
I hope this helps!