Spyder LED Headlights Installation: Ford F-150
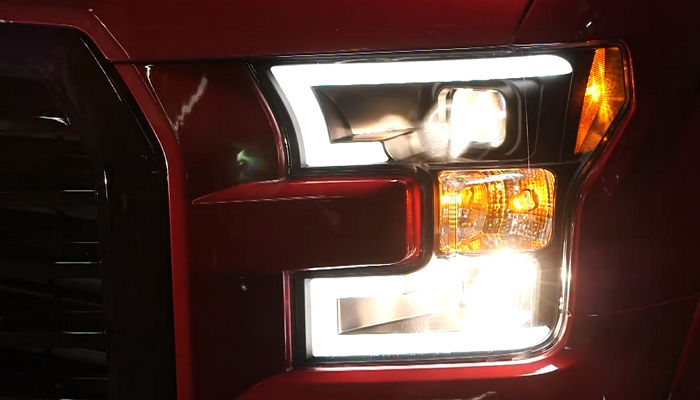
If you are looking for stylish and aggressive headlights for your F-150, these Spyder lights with LED light bars are something that is really worth your attention. They perform great even in poor weather conditions and look really attractive. Quality aftermarket headlights are the best investment one can get for the money, as they will add that custom touch to your truck.

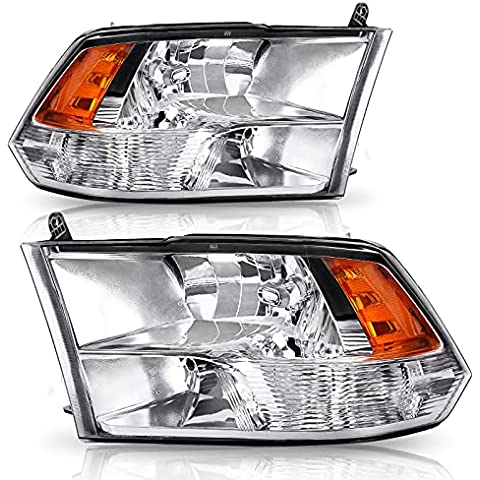
LED Tube Front Bumper Headlamps Headlights Assembly Compatible with Ford F150

Spyder For Ford F-150 2015-2017 Projector Headlights Pair Light Bar LED - Smoke

BriSunshine LED DRL Headlight Assembly Corner Parking Lights Fit Ford F150

Ford F150 F-150 Pickup Black Bezel Dual Halo LED G2 Projector Headlights Front L
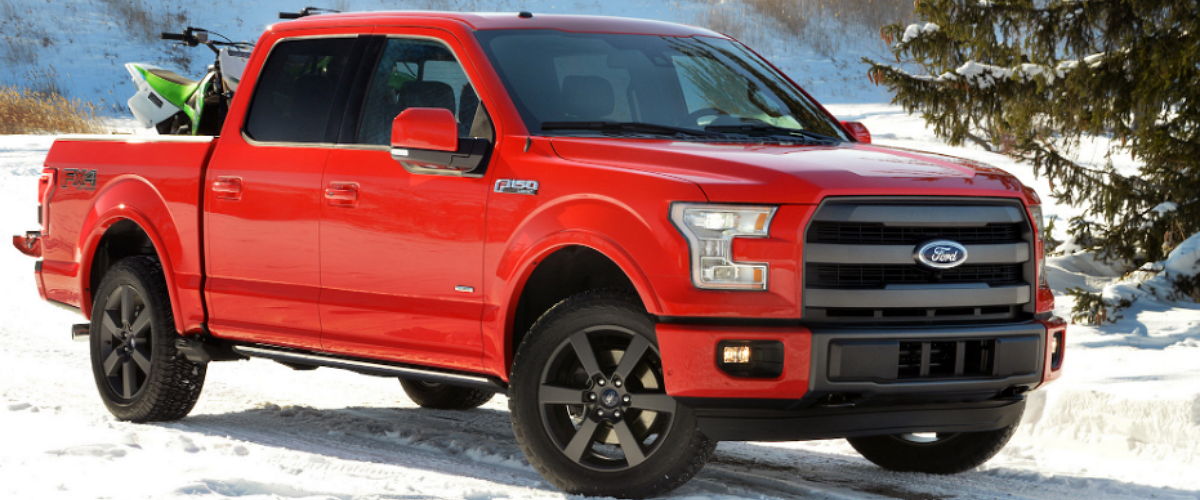
If you are looking for a comprehensive installation guide for Spyder headlights for your 2015-2016 Ford F-150, you’ve got it! Below is the list of the tools you will need to install your new Spyder headlights. Also, we have compiled an easy step-by-step installation guide, that will explain to you, how to install your Spyder LED headlights.
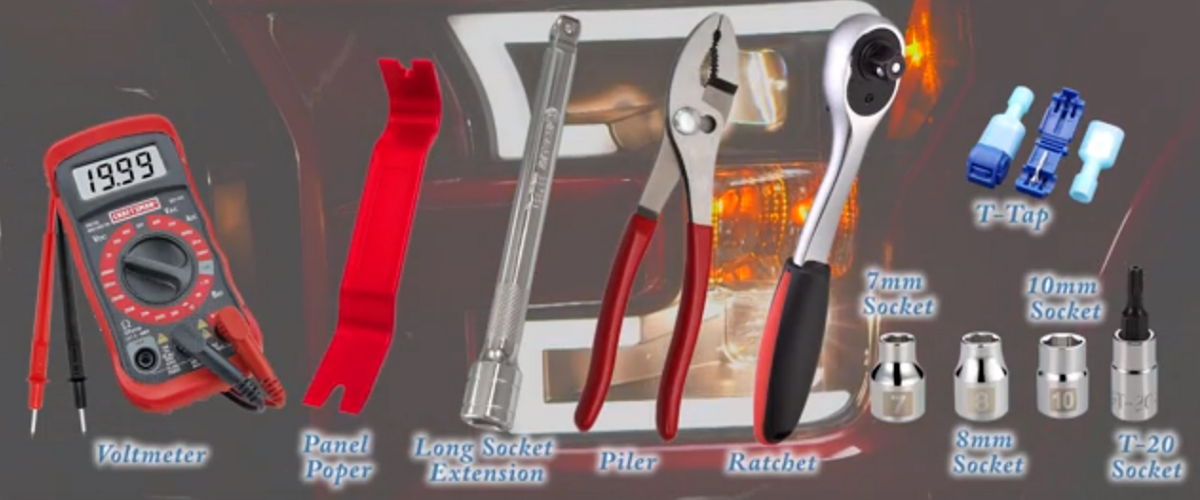
Here are the tools needed to prepare for the installation:
- voltmeter;
- pannel popper;
- long socket extension;
- piler;
- ratchet;
- 7 millimeters hex socket;
- 8 millimeters hex socket;
- 10 millimeters hex socket;
- t20 Torx socket;
- T – Taps.
Step-by-step installation instruction
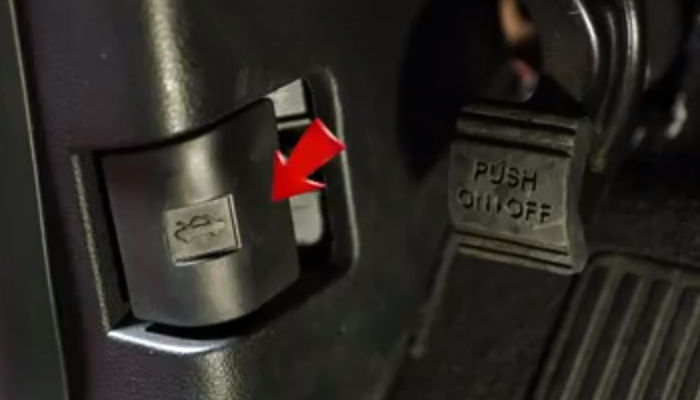
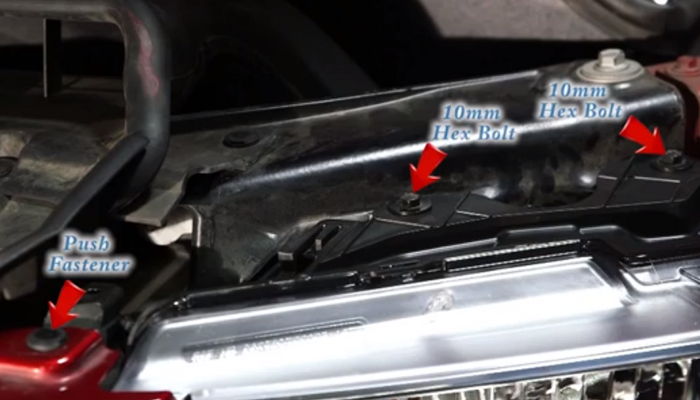
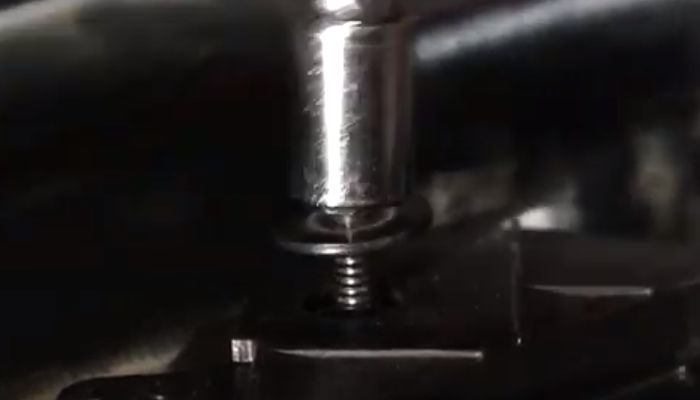
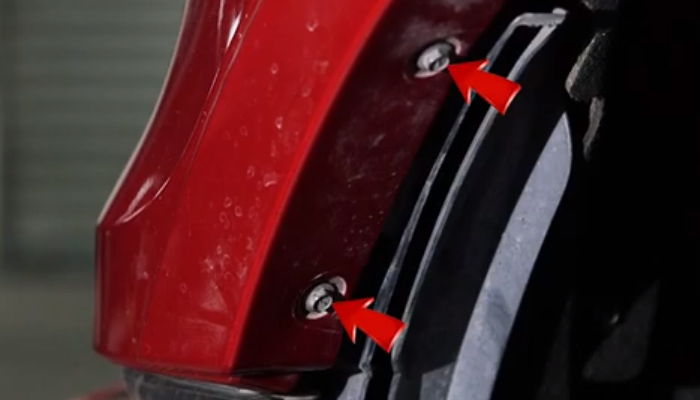
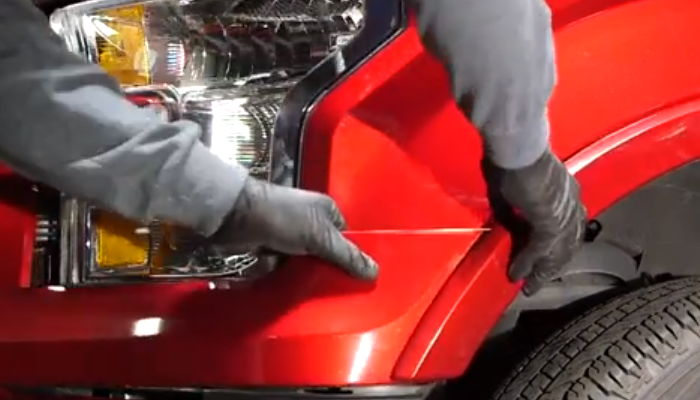
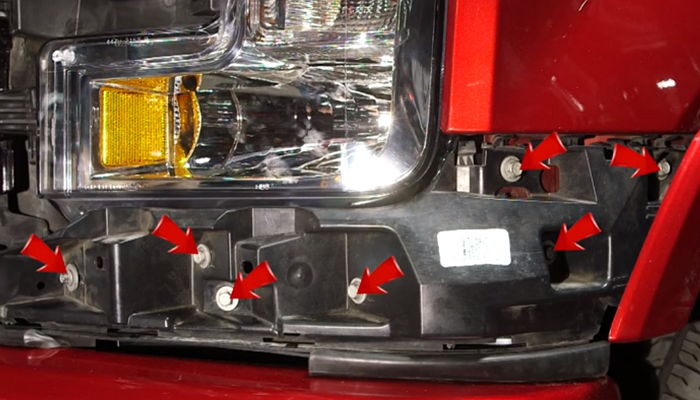
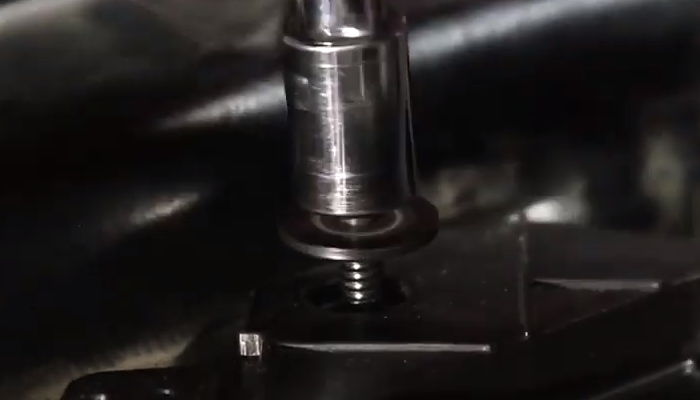
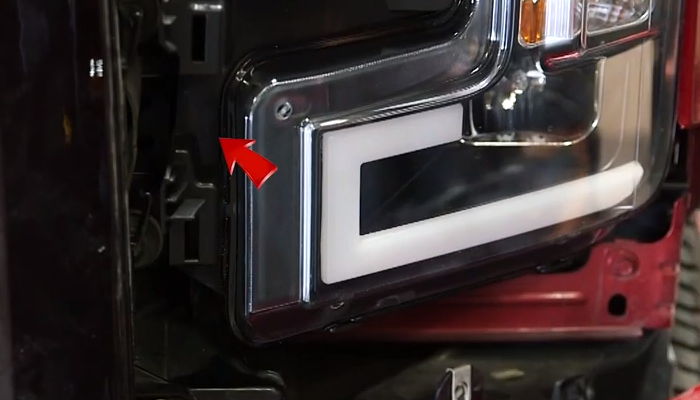
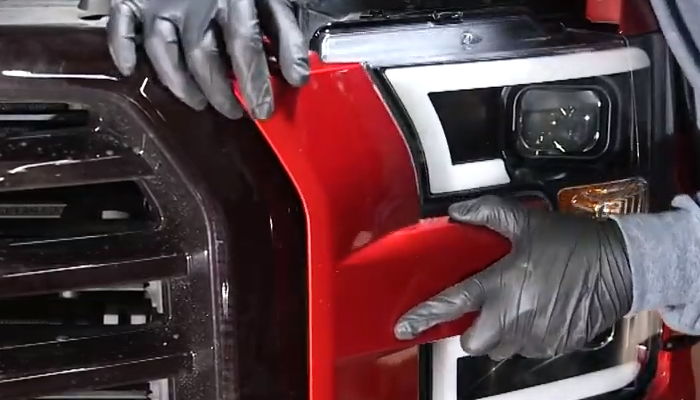
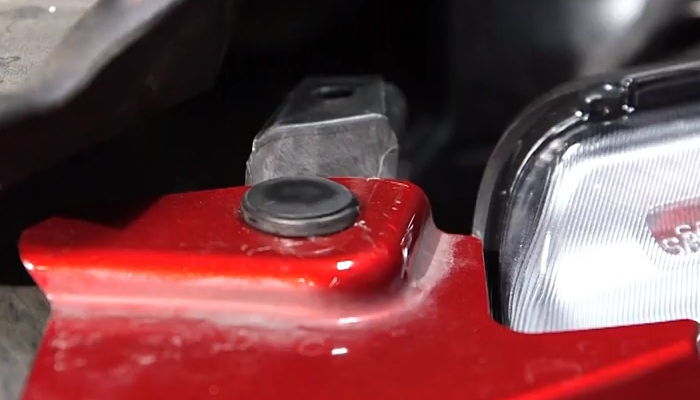
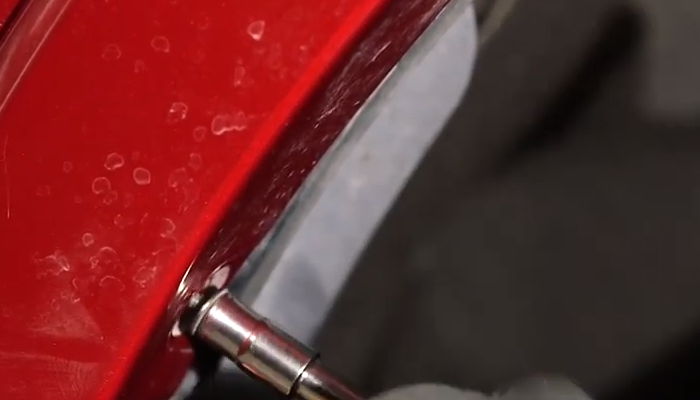
- Pull the hood and release the lever. Open the hood and let’s begin! Remove one push tied fastener. Unbolt 2 10 millimeters hex bolts on top of the headlight bracket. Unbolt 2 seven millimeters hex bolts under the wheel well. Unseat headlight molding. Unbolt seven-eight millimeters hex bolts on headlight trim support panel.
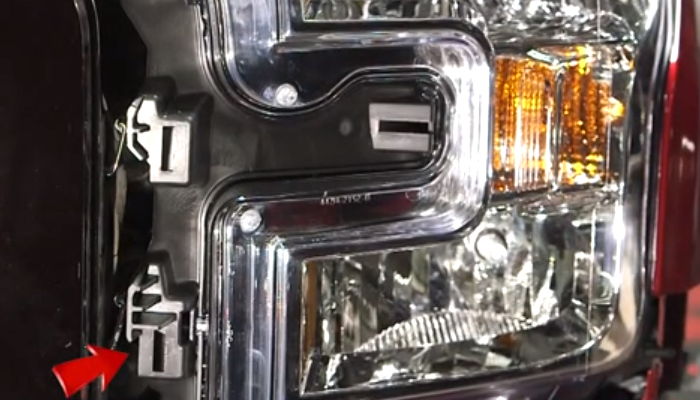
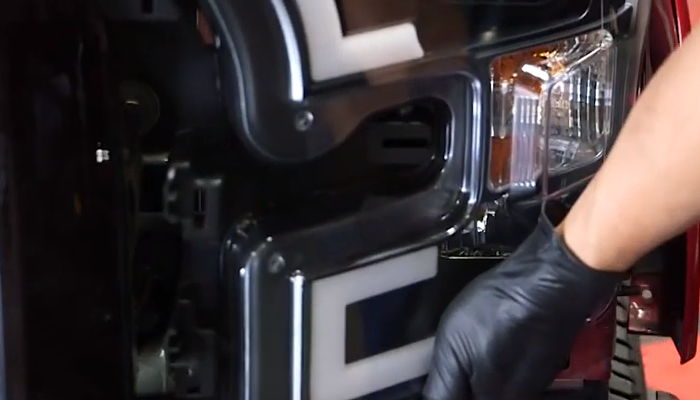
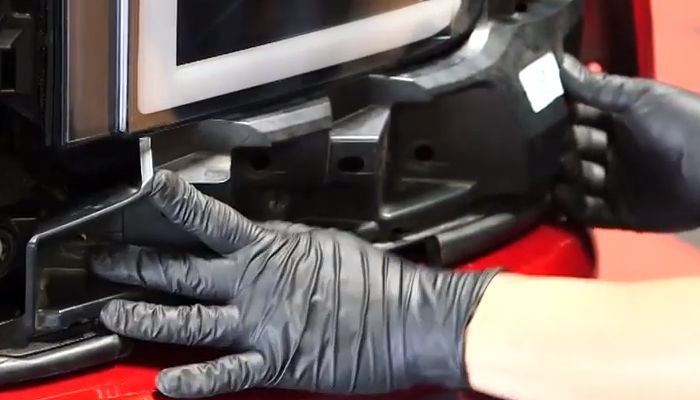
- Squeeze down the clip to release the trim support panel. Unseat headlight trim support panel. Unbolt 1 eight-millimeter hex bolt in between the headlight and grille unseat factory headlight. Unseat the turn signal socket with bulb.
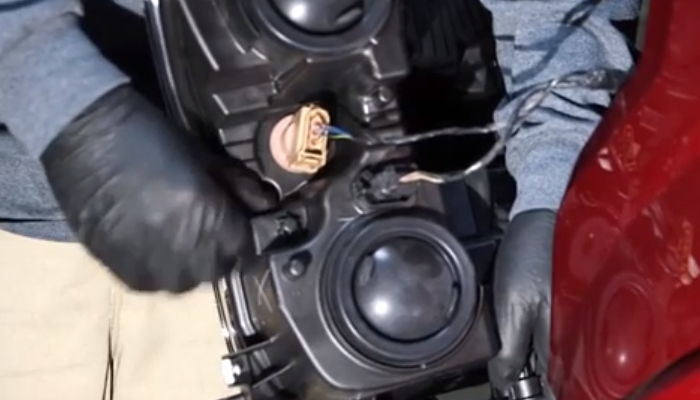
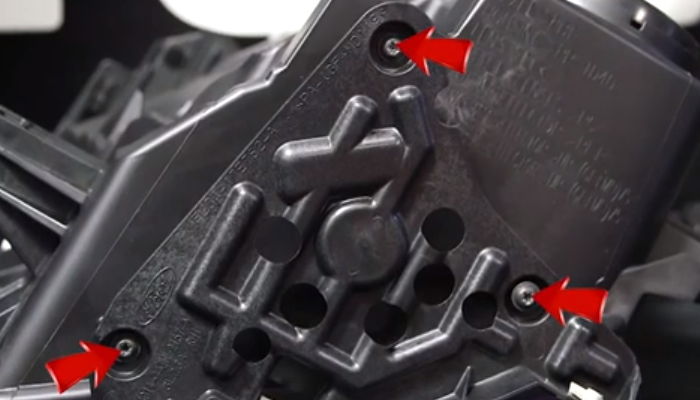
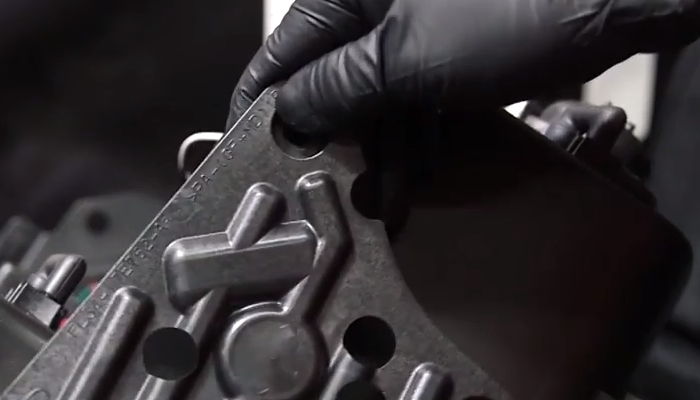
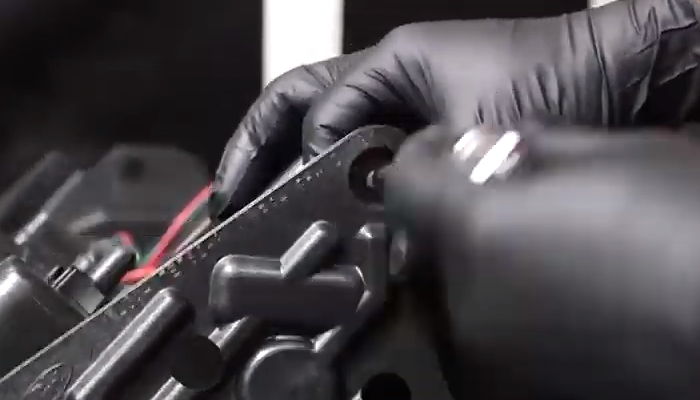
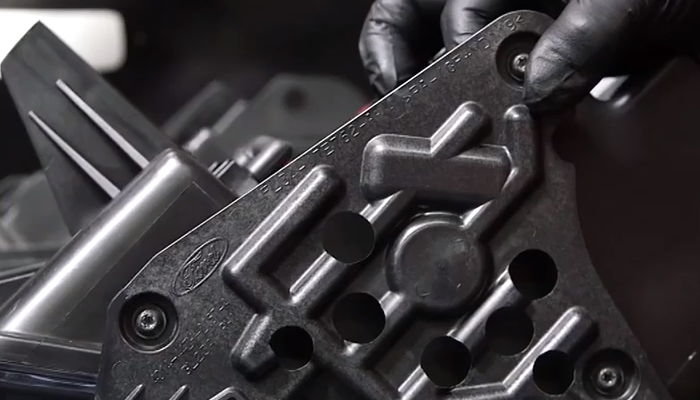
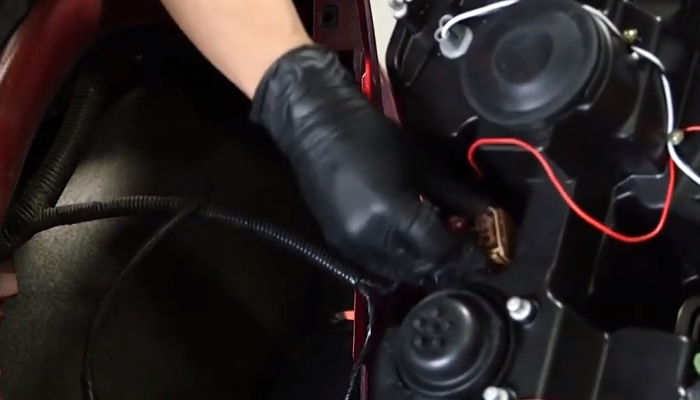
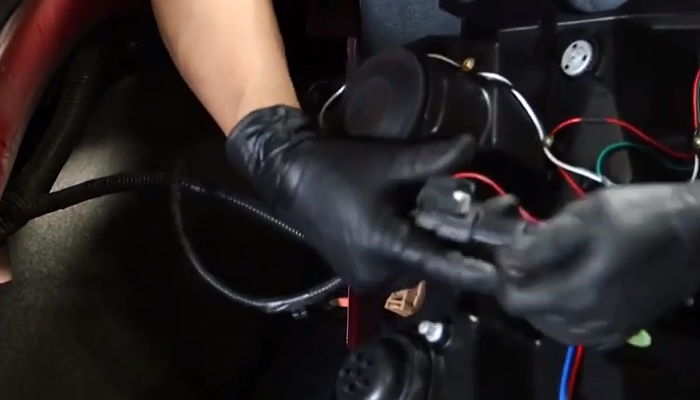
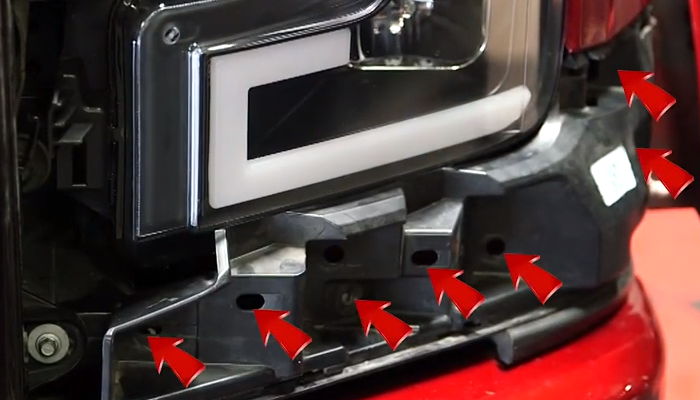
- Connect factory headlight harness. Disconnect factory side marker light harness. Transfer factory headlight bottom bracket to Spyder headlight. Remove three t20 Torx screws. Unseat the factory headlight bottom bracket. Seat the bottom of the headlight bracket onto Spyder headlight. Reinstall three t20 Torx screws to secure the bottom bracket.
- Find a T-tap the turn signal harness. Connect wire into the positive turn signal harness. Install turn signal socket into Spyder headlights. Connect Spyder headlight and side marker harnesses. Seat Spyder headlight in place.
- Reinstall two ten millimetres hex bolts on top holding the headlight. Reinstall 1 8-millimetres hex ball between headlight and grille. Sit headlight support trim panel. Reinstall 7 8-millimeters hex bolt holding trim support panel. Set headlight trim molding in place.
- Reinstall one push-tie fastener. Reinstall two seven-millimetres hex ball under the wheel well close the hood, and the installation is completed.
Spyder headlights installation instruction in pictures
Step 1: Preparation and unbolting
Step 2: OE headlight removal
Step 3: Preparing to install Spyder headlights
Step 4. Wiring Spyder headlights
Step 5. Headlight installation
Step 6: Completing headlight installation
Congratulations! You have just installed your Spyder Auto switchback headlights for your 2015 to 2016 Ford f-150. Please make sure to check all electrical connections and light functions before taking your vehicle back on the road.
ABOUT
 Steven is a certified mechanic and technical writer at Halo Headlights. Steven is excited about fast cars, loud music and car mods. On yearly basis he visits SEMA, as well as other car shows. He has installed thousands of HID and LED kits and did hundreds of custom headlight retrofit projects. Now, he is ready to share his experience with Halo-Headlights.com readers.

